

Custom Logo Options for Straw Hats
Compare logo methods by artwork, hat surface, placement, and finished sample.
- ✓ Embroidery, patches, metal plates, bands, and print
- ✓ Logo method matched to the artwork and hat surface
- ✓ Size, color, placement, and attachment defined

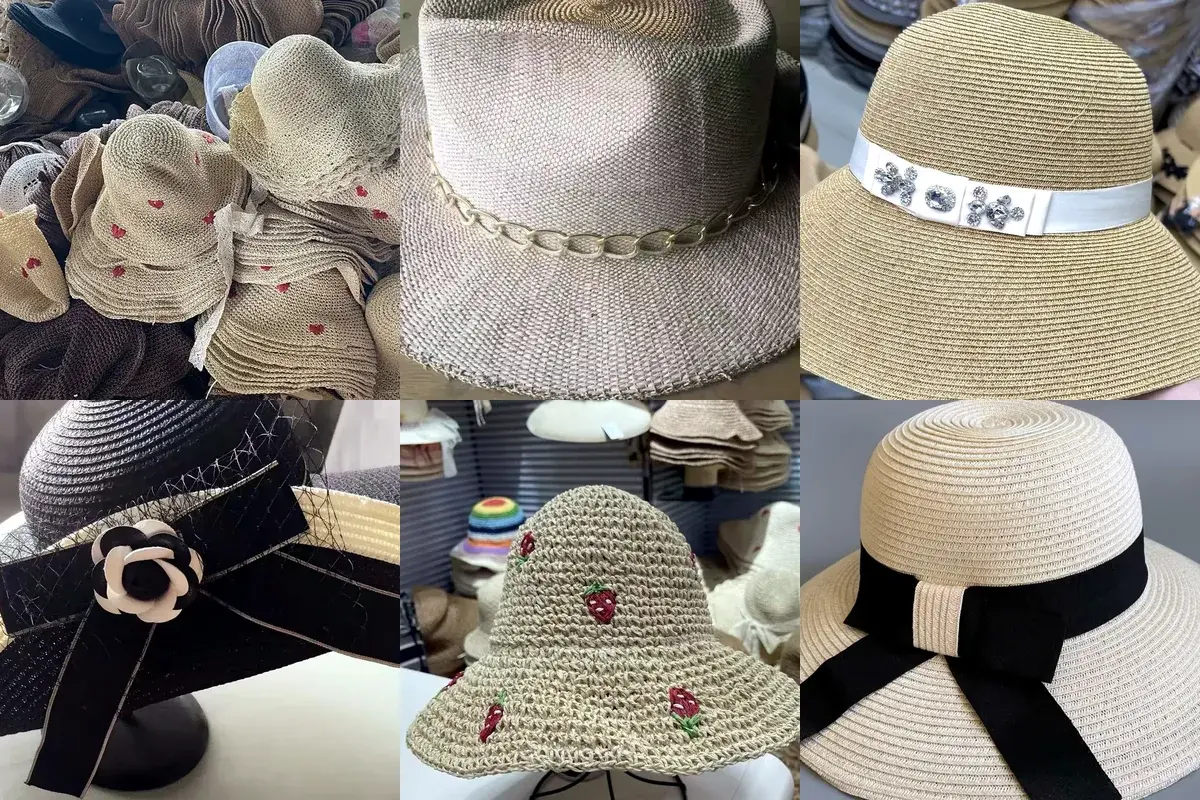
Choose the Right Logo Method
Start with where the logo sits and how visible it should be.
- Hat surface: Material, weave, curve, and nearby seams
- Artwork: Text, lines, colors, and minimum clear detail
- Placement: Front, side, band, brim, or inside
Compare Logo Options
Choose the route that best fits the surface and artwork.
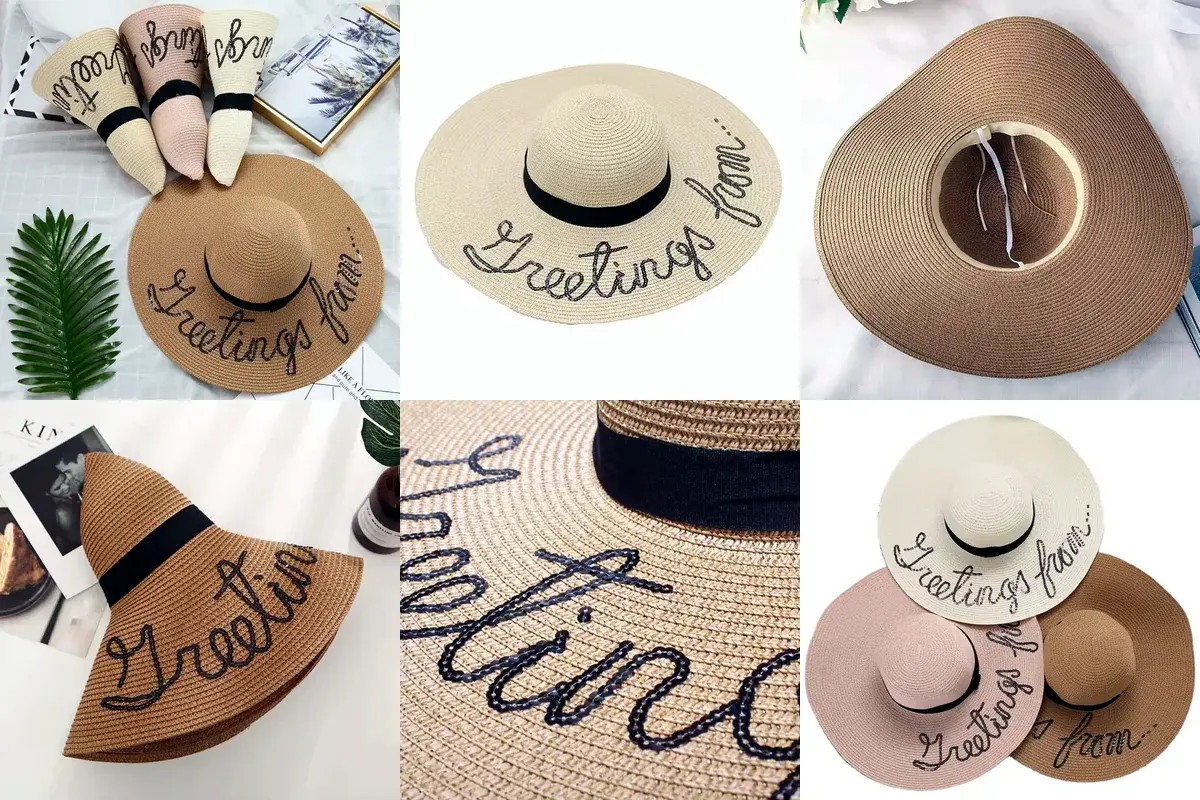
1. Direct Embroidery
Stitches the logo directly onto a suitable hat or fabric area.
- Best for: Bold artwork and stable surfaces
- Provide: Vector file, size, placement, and thread colors
- Approve: Clarity, tension, reverse side, and hat shape
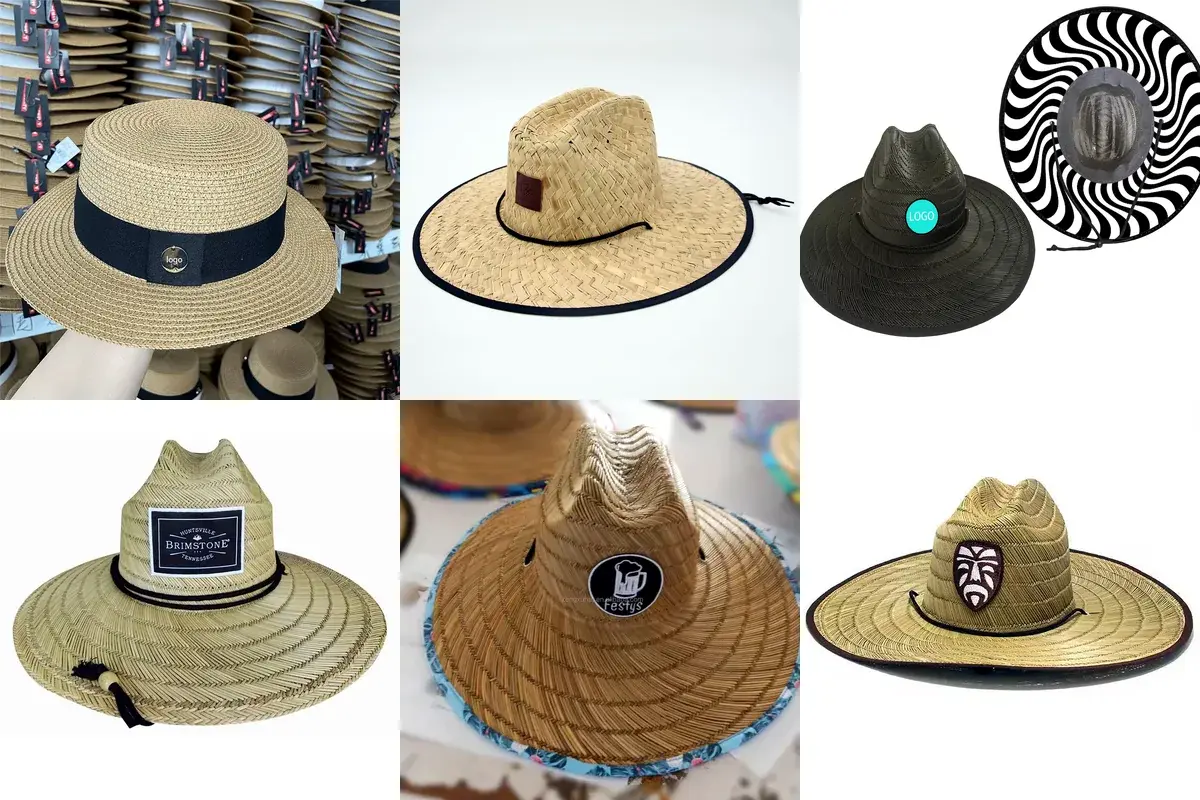
2. Patches and Metal Logo Plates
Creates a separate brand component when the straw is too textured or the logo needs stronger definition.
- Best for: Distinct, raised, or structured branding
- Provide: Artwork, type, shape, size, finish, and placement
- Approve: Edges, weight, attachment, and packing contact. See Custom Patches for construction details.
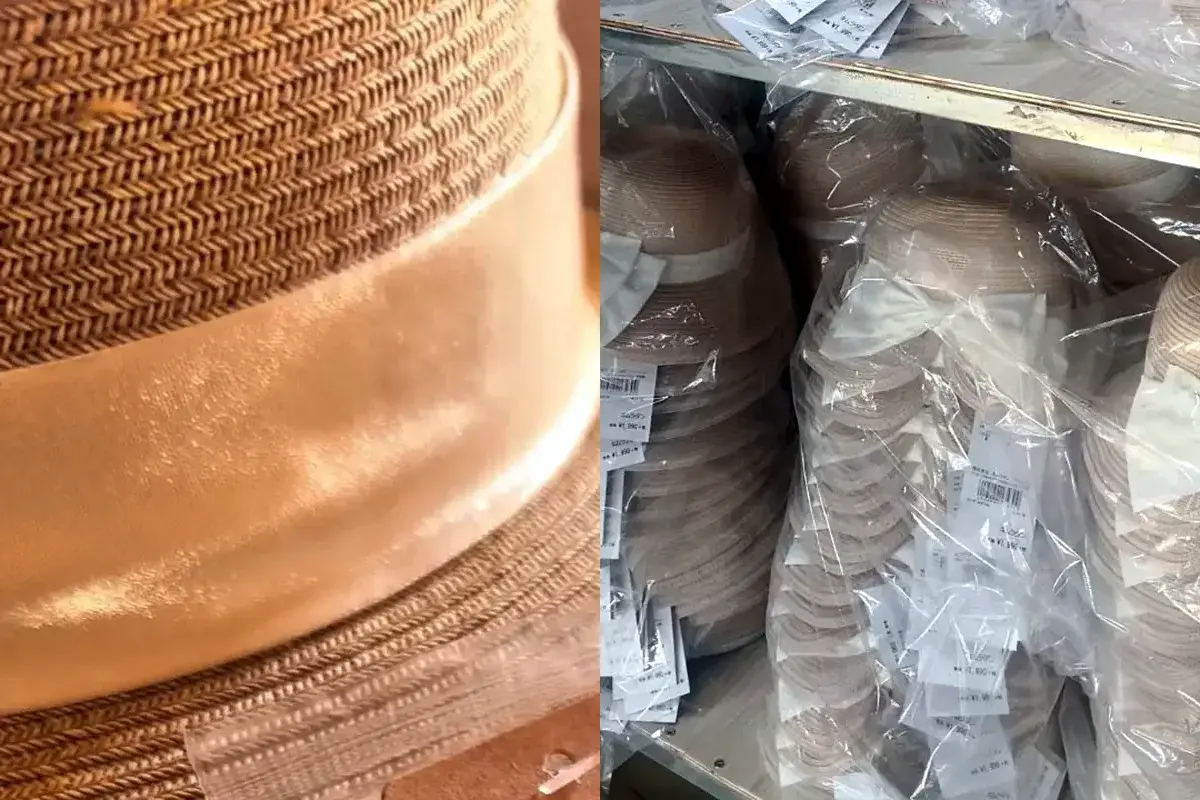
3. Branded Hat Bands and Labels
Places branding on the band, bow, tab, or inside label instead of the straw body.
- Best for: Integrated or discreet branding
- Provide: Artwork, dimensions, colors, position, and text
- Approve: Readability, band fit, attachment, and label position. See Hat Bands and Labels and Packaging.
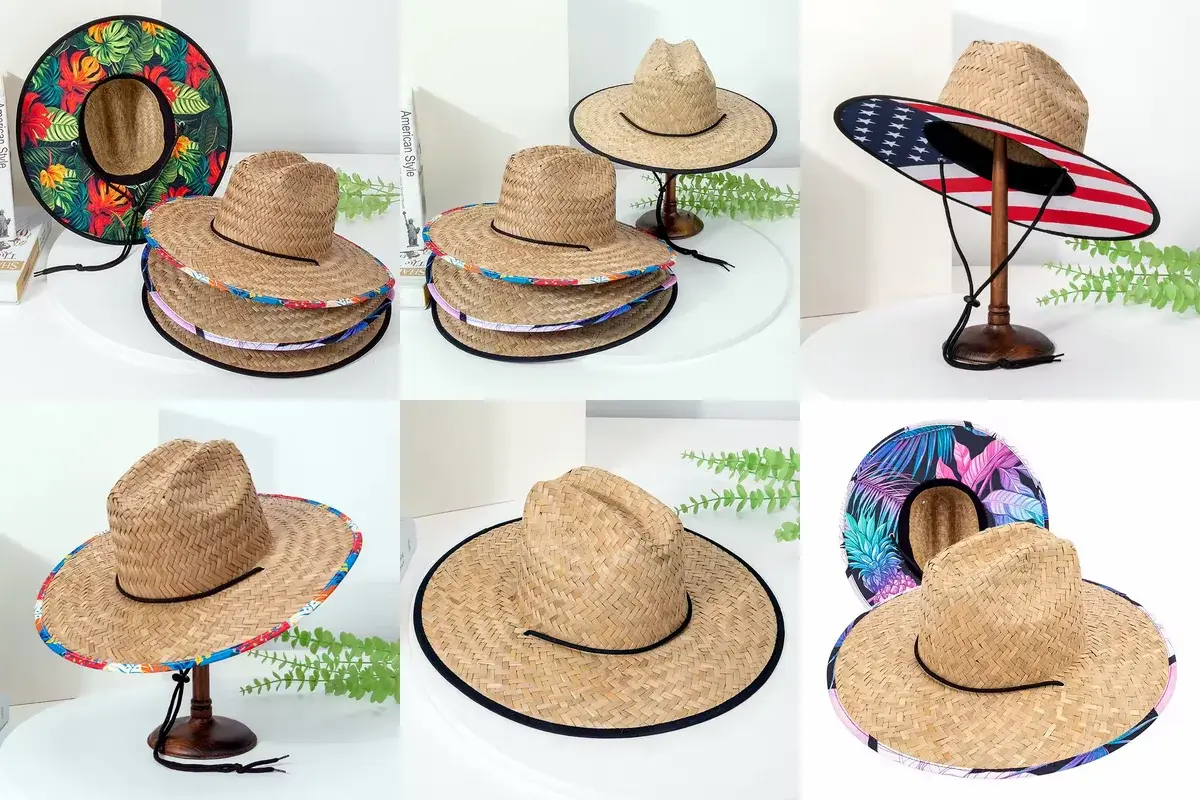
4. Printed Logos and Under-Brim Graphics
Adds a logo or larger graphic to a suitable crown or brim area.
- Best for: Broader artwork, borders, and repeats
- Provide: Production artwork, print area, colors, and orientation
- Approve: Alignment, contrast, edge clearance, and curve distortion. See Under-Brim Printing.
Approve the Finished Logo
A flat proof sets the artwork. The physical sample confirms the result on the hat.
Artwork and Placement
Provide vector artwork, final size, colors, and placement measured from a clear reference point.
Proof and Sample
Check clarity, color, position, attachment, reverse finish, and wearer contact on the hat.
Production Reference
Record the approved artwork, method, dimensions, colors, placement, and comments.
Start Your Logo Project
Send the hat reference, logo file, size, placement, colors, quantity, destination, and target date.
Send Your Logo BriefFrequently Asked Questions
Quick answers about artwork, detail, color, and MOQ.