

Custom Straw Hat Colors and Finishes
Plan natural tones, custom colors, and component matching on the finished hat.
- ✓ Natural, dyed, Pantone-led, and multi-color options
- ✓ Straw, band, logo, and trim colors coordinated
- ✓ Batch variation and color tolerance defined
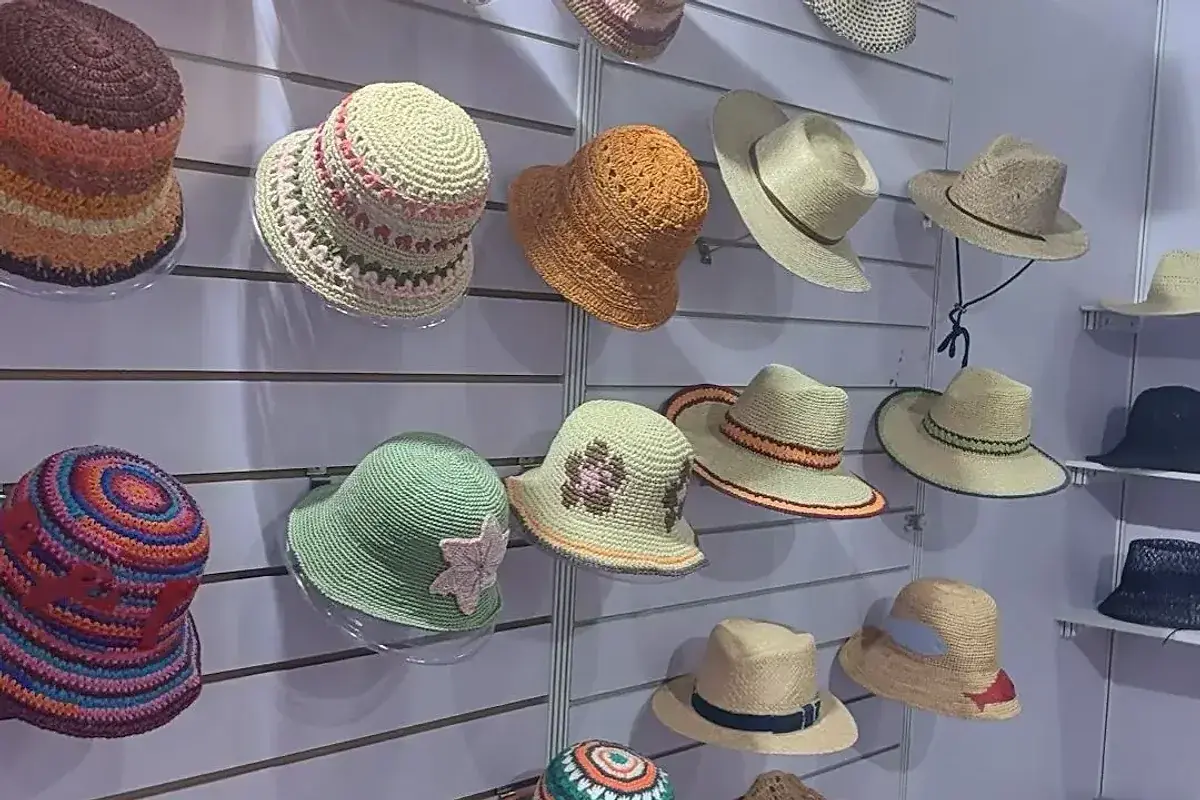
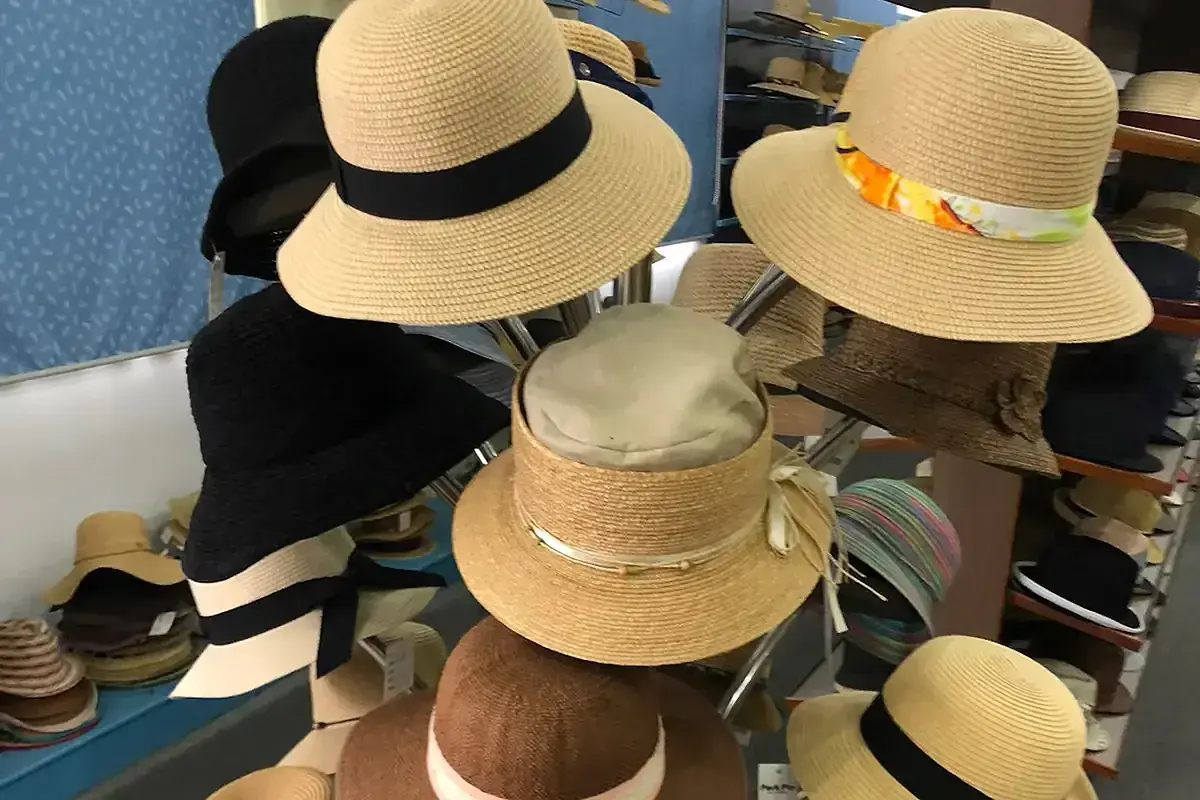
Map Color Across the Hat
Start with the material, then define whether each visible component should match, contrast, or stay within one color family.
- Body: Natural or colored, target tone, finish, and acceptable variation
- Components: Straw, band, thread, patch, print, metal, label, and packaging
- Reference: Pantone system and code, physical swatch, viewing light, and priority
Choose the Color Direction
Approve the target on representative material or a finished hat—not on screen alone.
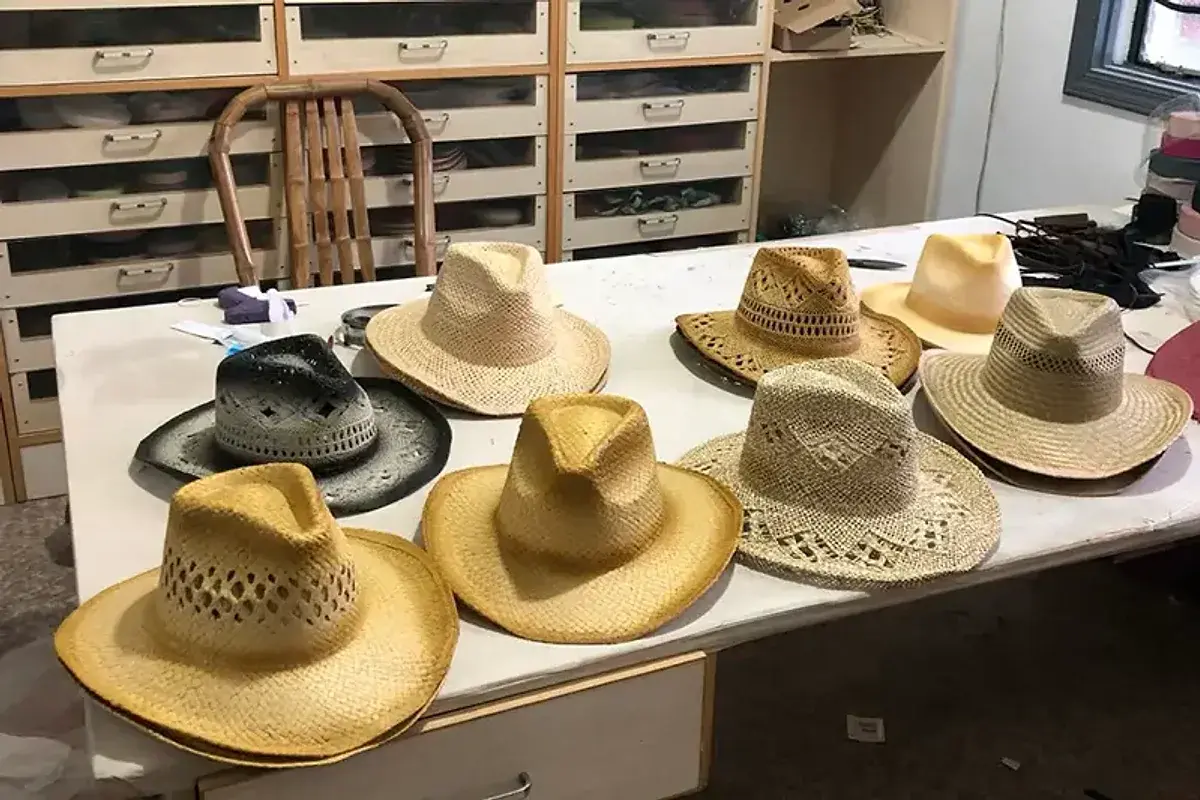
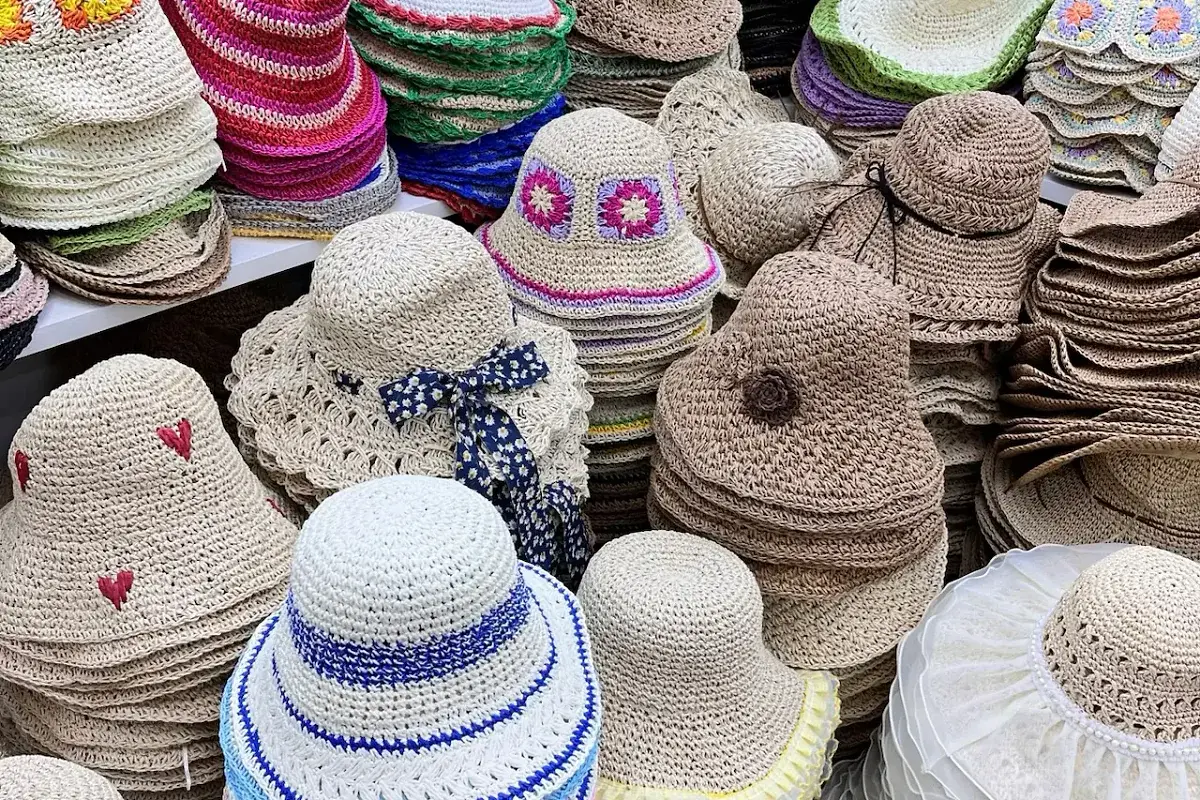
1. Natural Straw Tones
Natural straw varies by material, fiber tone, and production lot.
- Direction: Warm, cool, yellow, gray, light, dark, or mixed
- Reference: Material close-ups and examples of unacceptable tones
- Approve: Light and dark limits, variation within one hat, and crown-to-brim balance
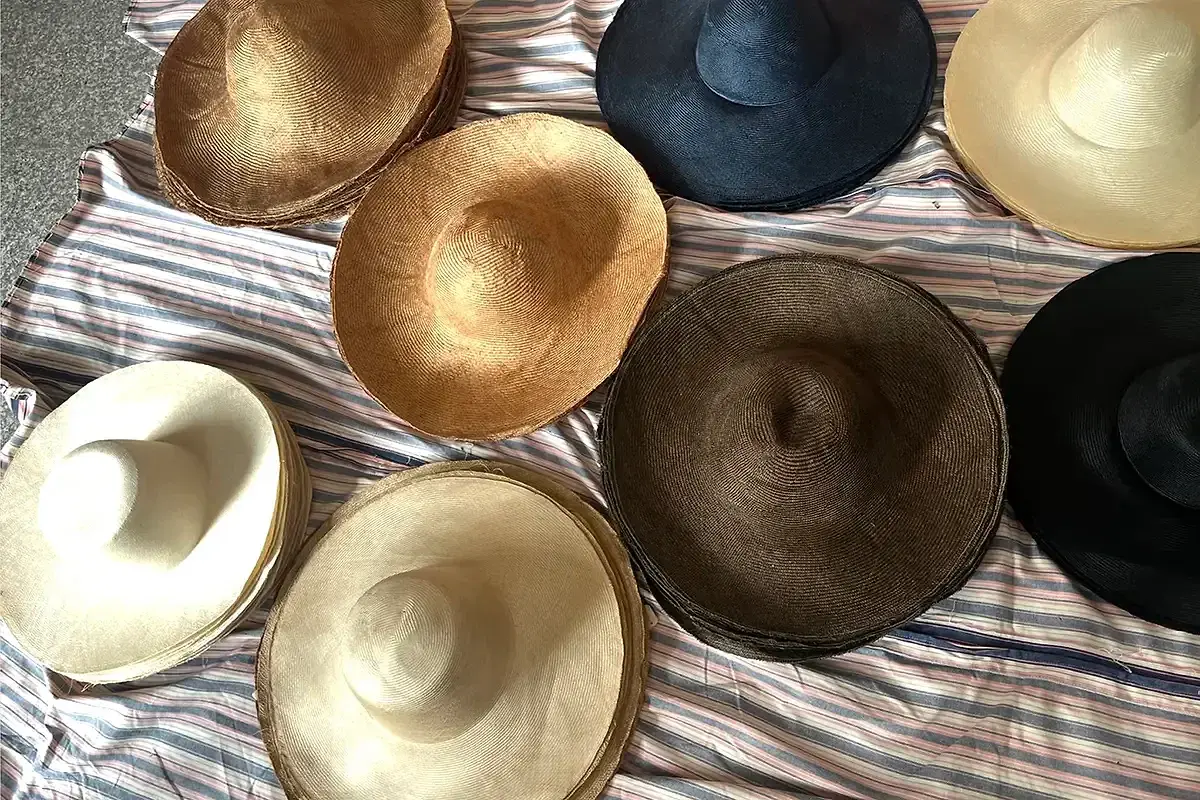
2. Dyed and Pantone-Led Colors
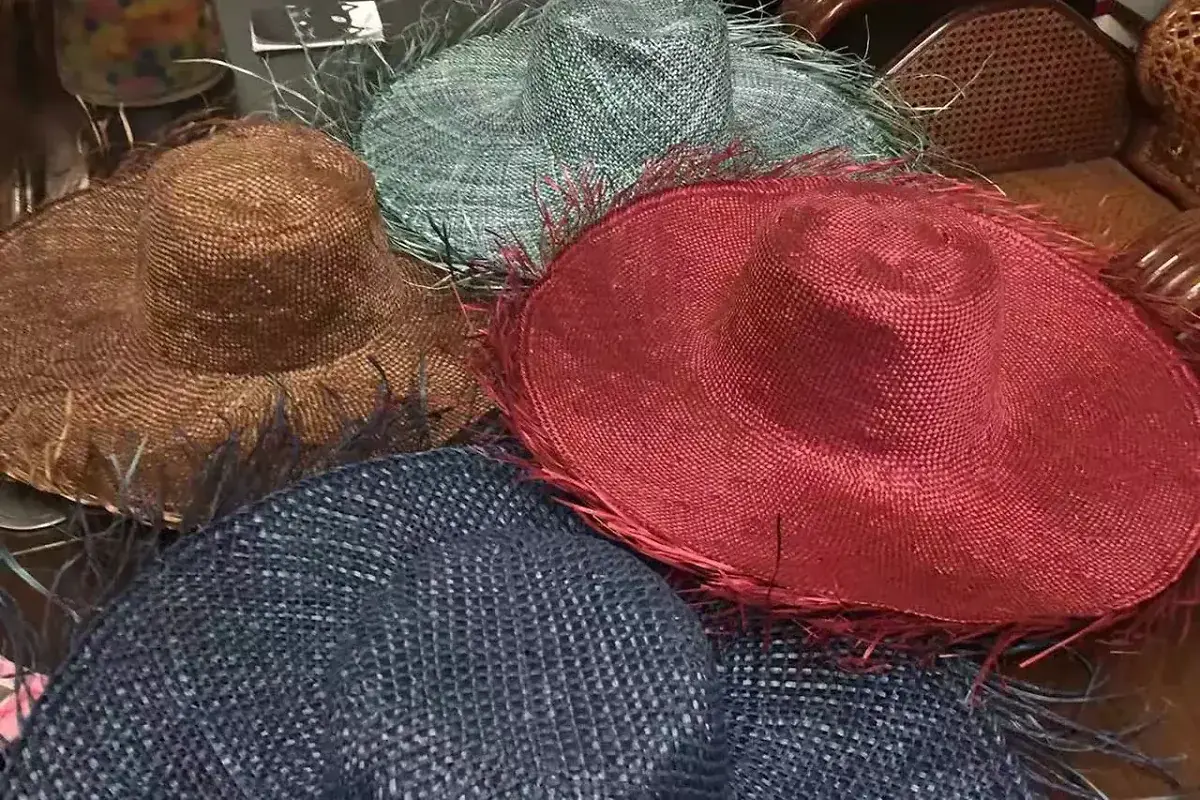
Pantone sets a target; base tone, weave, finish, and lighting can shift its appearance.
- Specify: Full Pantone system and code, material, finish, and quantity by color
- Review: Color through the weave, joins, edges, and exposed base
- Retain: The approved material or finished-hat sample
3. Coordinated Component Colors
Straw, fabric, thread, ink, coatings, and metal rarely display one target identically.
- Plan: Close match, tonal family, controlled contrast, or separate brand colors
- Review: Contrast, logo readability, sheen, and the complete-hat appearance
- Component details: See Logo Customization, Custom Patches, and Custom Hat Bands
4. Multi-Color Designs and Surface Finishes
Use a marked color map for contrasting crown, brim, edge, or finish areas.
- Map: Every color boundary, orientation, and finish location
- Finish: Define matte, smooth, or reflective appearance and the intended hand feel
- Print areas: Use Under-Brim Printing for artwork, scale, and alignment
Approve Color with Physical Samples
Screens and photographs can shift color. Use one physical approval path before production.
Color Reference
Record the Pantone code, physical swatch, material, finish, viewing light, and reference priority.
Finished Hat
Review the body and components together, including edges, joins, branding, finish, and contact after packing.
Approved Range
Keep the sample and record acceptable variation, light and dark limits, and required tests.
Start Your Color Project
Send the hat style, material, color or Pantone reference, finish, component color map, quantities, destination, and target date.
Send Your Color BriefFrequently Asked Questions
Quick answers about color targets, variation, and approval.