

Custom Straw Fedora Hats
Start with an existing shape or develop a new fedora profile. Customize the crown dent, front pinch, brim, material, sizes, band, branding, and protective packing.
- ✓ MOQ from 50 pieces per design
- ✓ Sample-approved crown dent and brim
- ✓ Protective packing for shipment
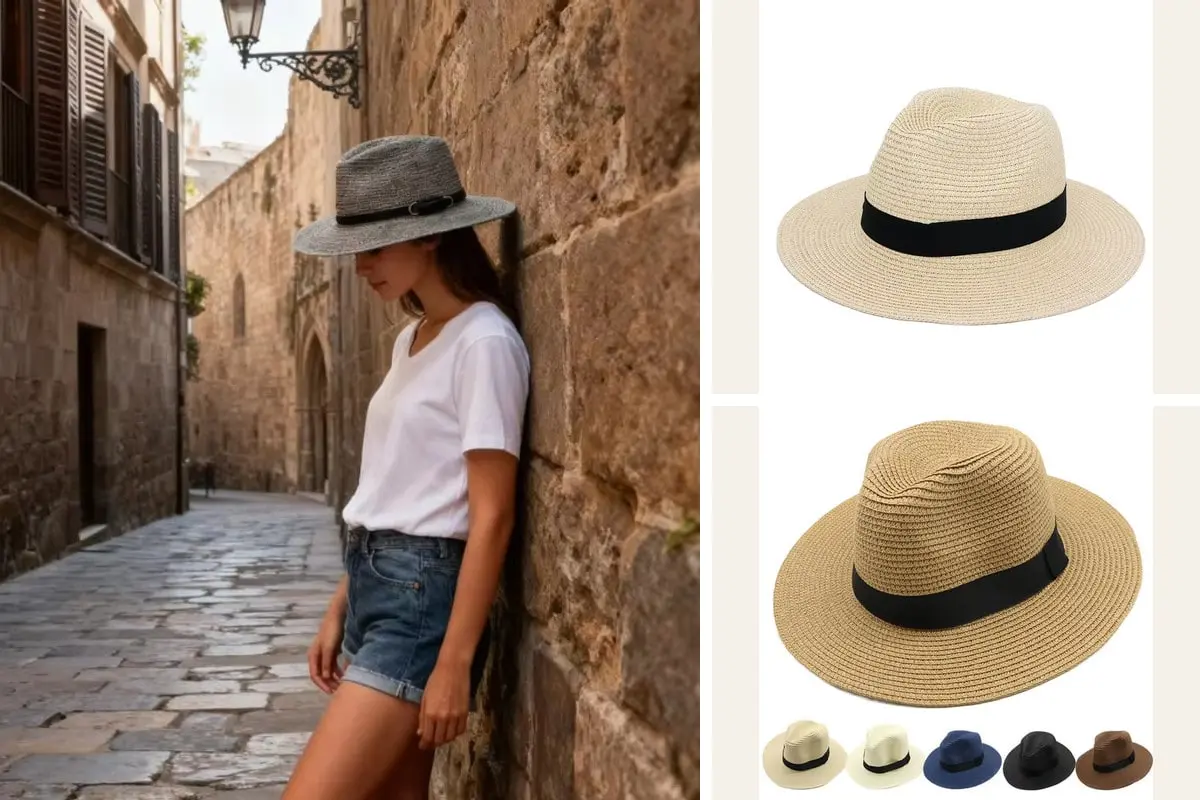
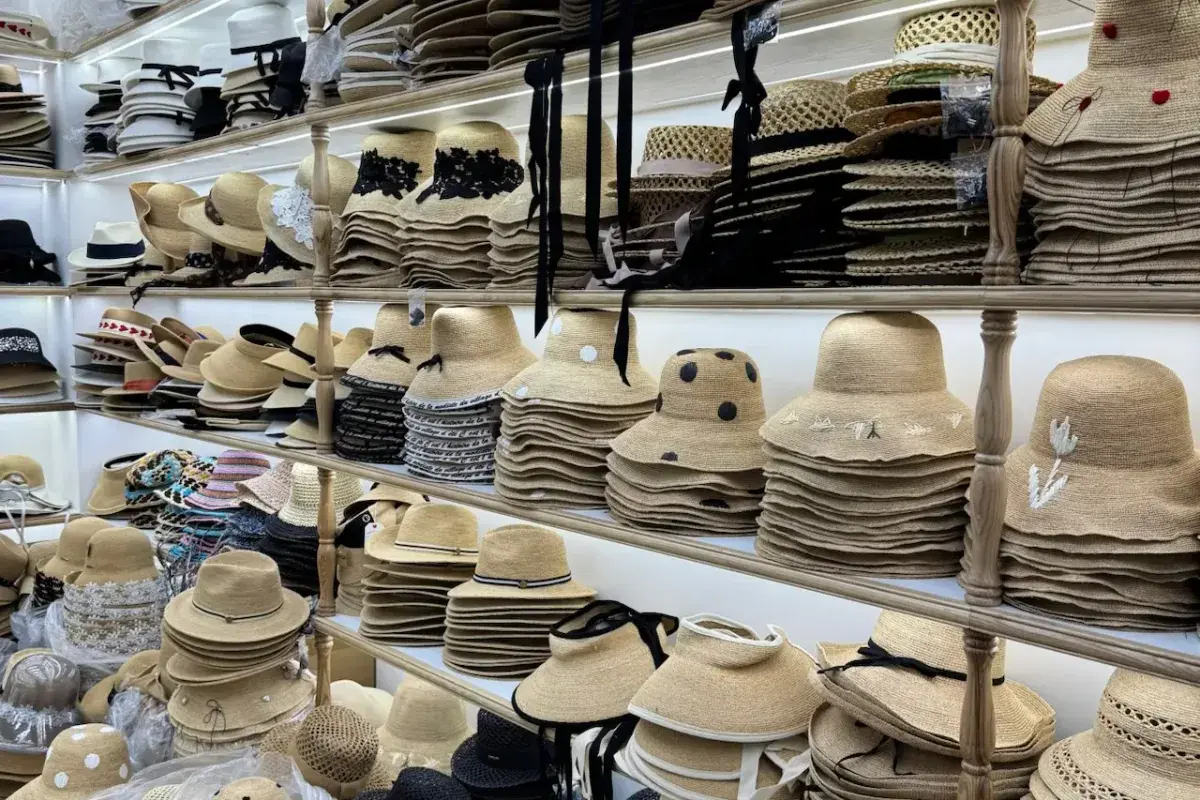
Choose the Right Development Route
If an existing crown and brim are close to your reference, customize the material, color, band, branding, and labels. Choose new development when the indentation, pinch, taper, brim direction, or size proportions must change.
What Can You Customize?
Each choice changes the finished silhouette, fit, or presentation.
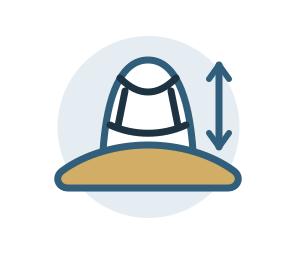
Crown Shape
Set the crown height, indentation, front pinch, taper, symmetry, and firmness.

Brim Profile
Define the front, side, and back widths, directions, edge, and movement.

Material and Structure
Match the texture, weight, color, and support to the approved fedora shape.
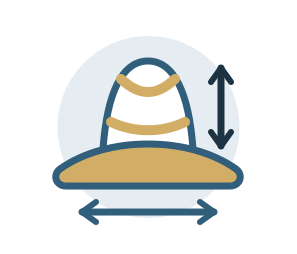
Fit and Sizing
Confirm the finished circumference, crown depth, sweatband, sizes, and grading.

Band and Branding
Coordinate the band width, color, join or bow, logo, labels, and placement.

Protective Packing
Protect the indentation, pinch, brim direction, band, and side trim in transit.
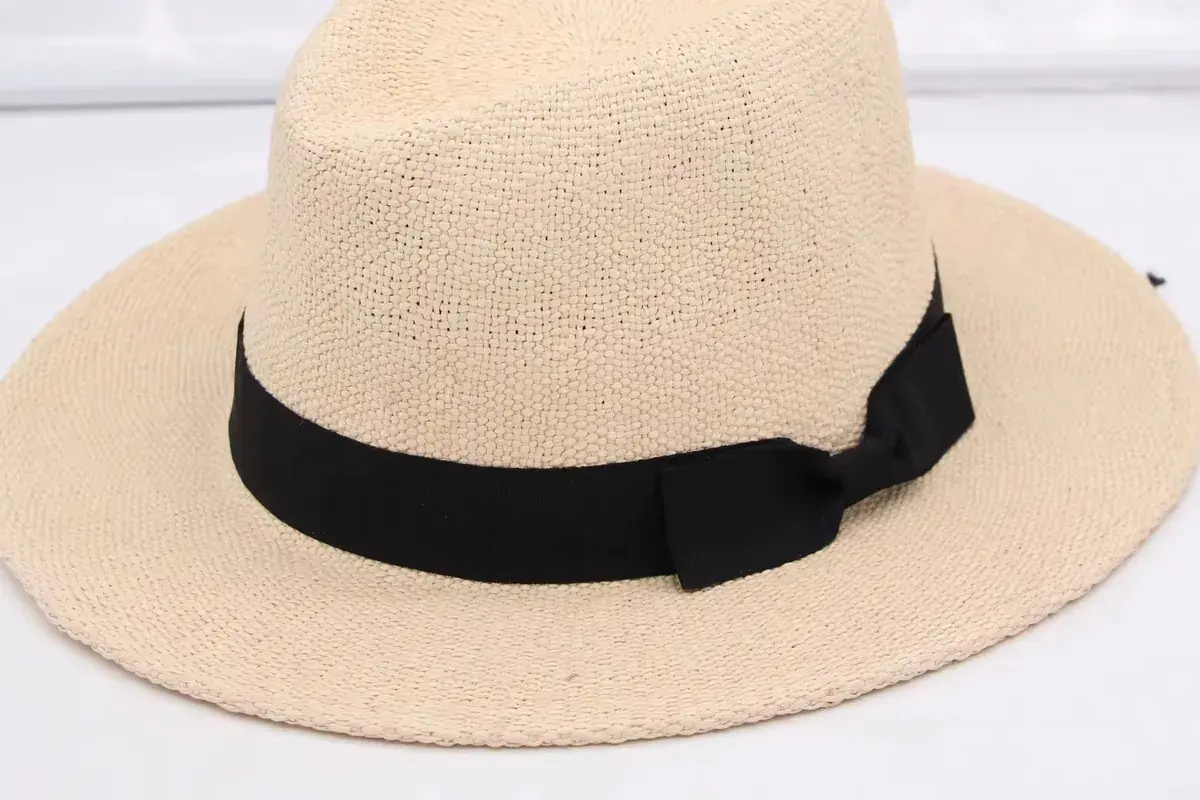
Build the Fedora Crown
The indentation, front pinch, crown height, and taper create the fedora’s defining profile.
- Indentation:
Choose the direction and depth shown in your reference. - Pinch and taper:
Mark the front pinch, side taper, and required symmetry. - Dimensions:
Confirm crown height, top size, opening, and finished depth. - Sample check:
Review the crown from the front, side, back, top, and worn position.
Direct the Brim Profile
Brim width alone does not define the look. The front, sides, and back can turn down, stay level, turn up, or combine directions.
- Widths:
Set the front, side, and back measurements. - Direction:
Mark which areas turn down, stay level, turn up, or allow adjustment. - Firmness:
Define the required movement and edge finish. - Sample check:
Review the side balance, edge, wearing position, and unpacked profile.
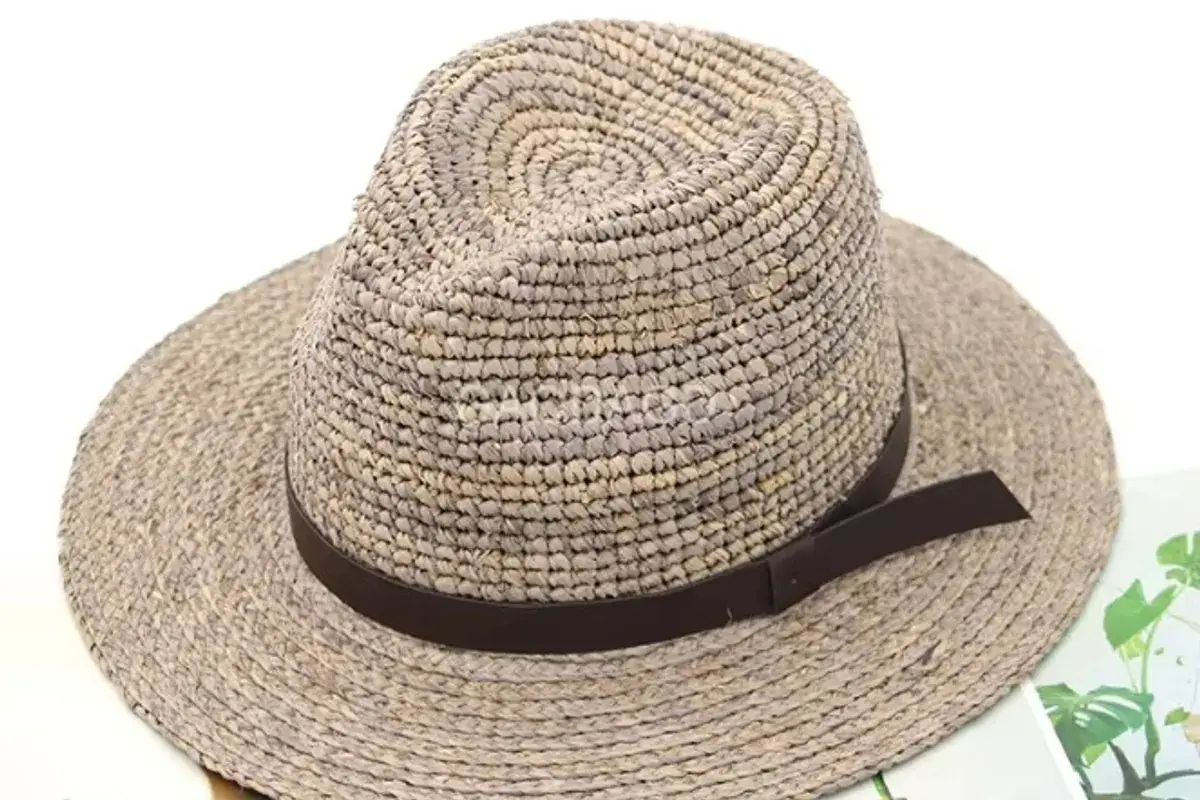
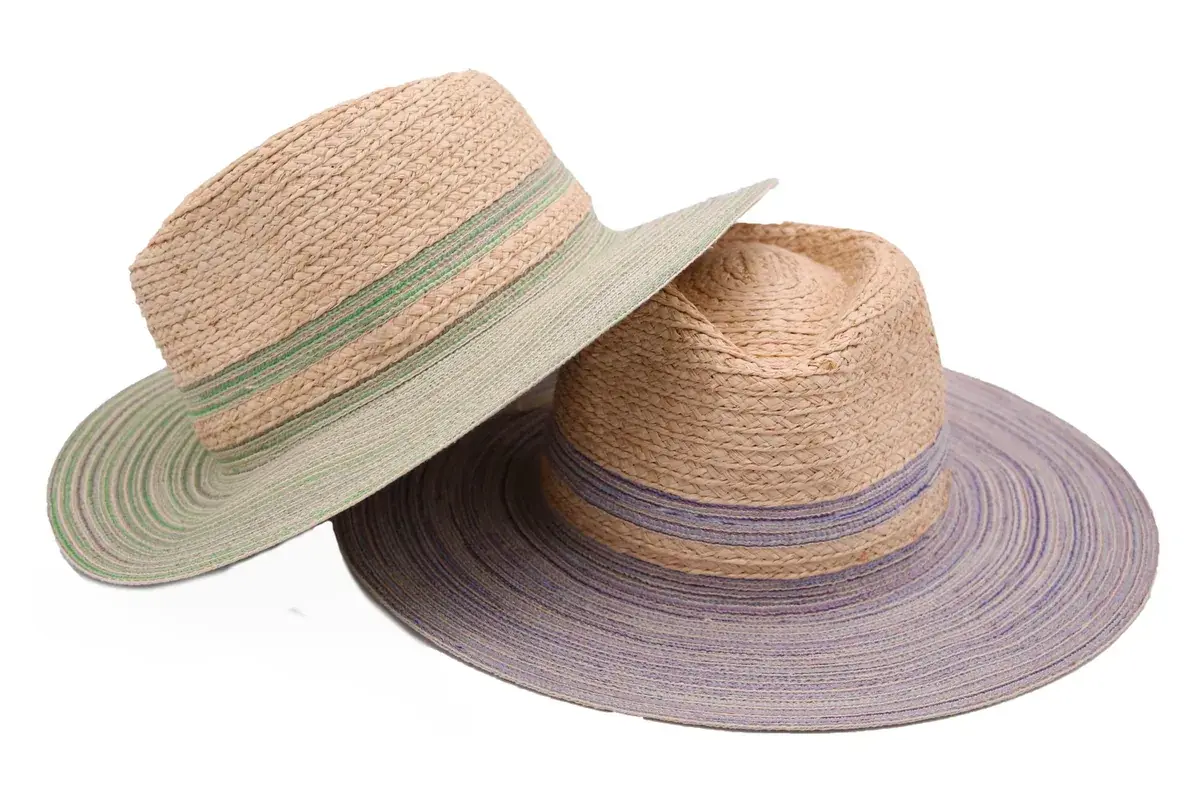
Match Material to the Shape
A firmer construction holds a clearer dent and brim direction. A softer one creates more movement, so the material must be approved on the finished hat.
- Texture:
Compare the visible weave and surface variation. - Structure:
Set the support needed at the crown and brim. - Color:
Approve the selected color on the actual material. - Sample check:
Inspect the shape, weight, edge, handling response, and unpacked profile.
Finish the Fedora with Band and Branding
The band should define the look without hiding the pinch or pulling the crown out of shape.
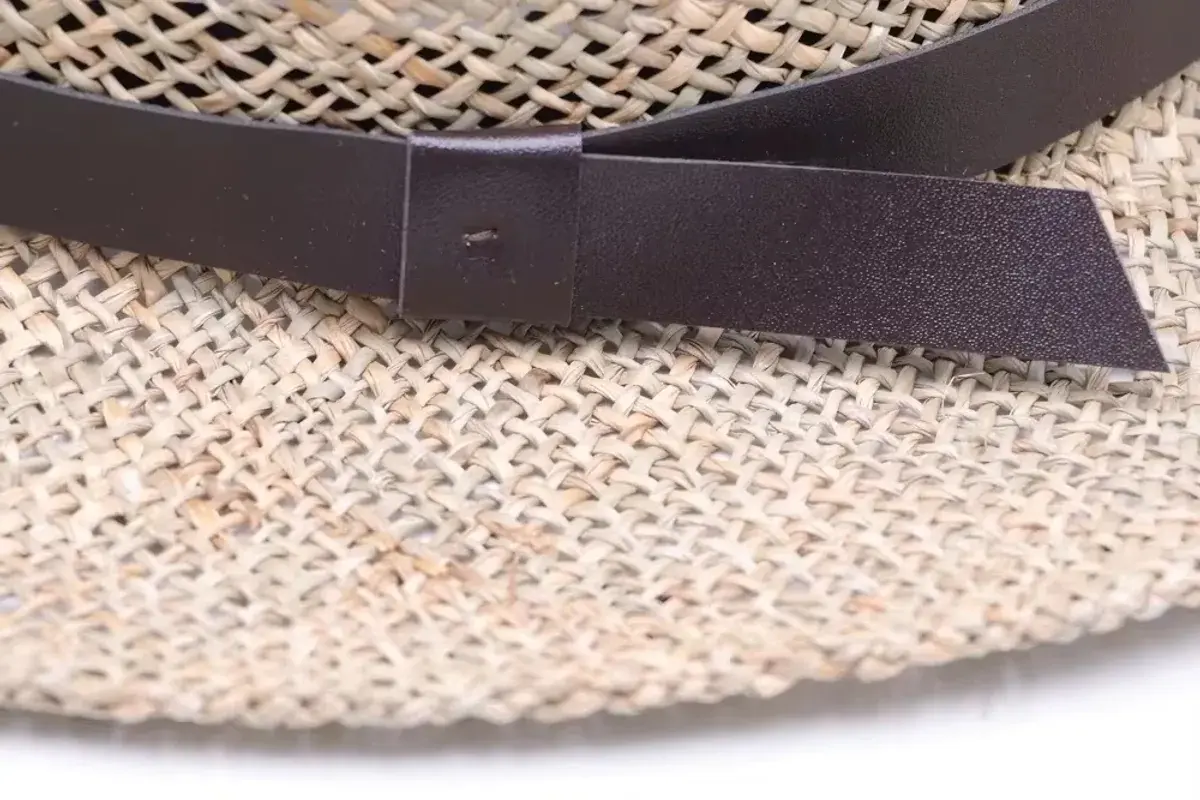
Ribbon or Woven Band
Set the material, width, color, stripe, join or bow, tension, and position.
View Hat Bands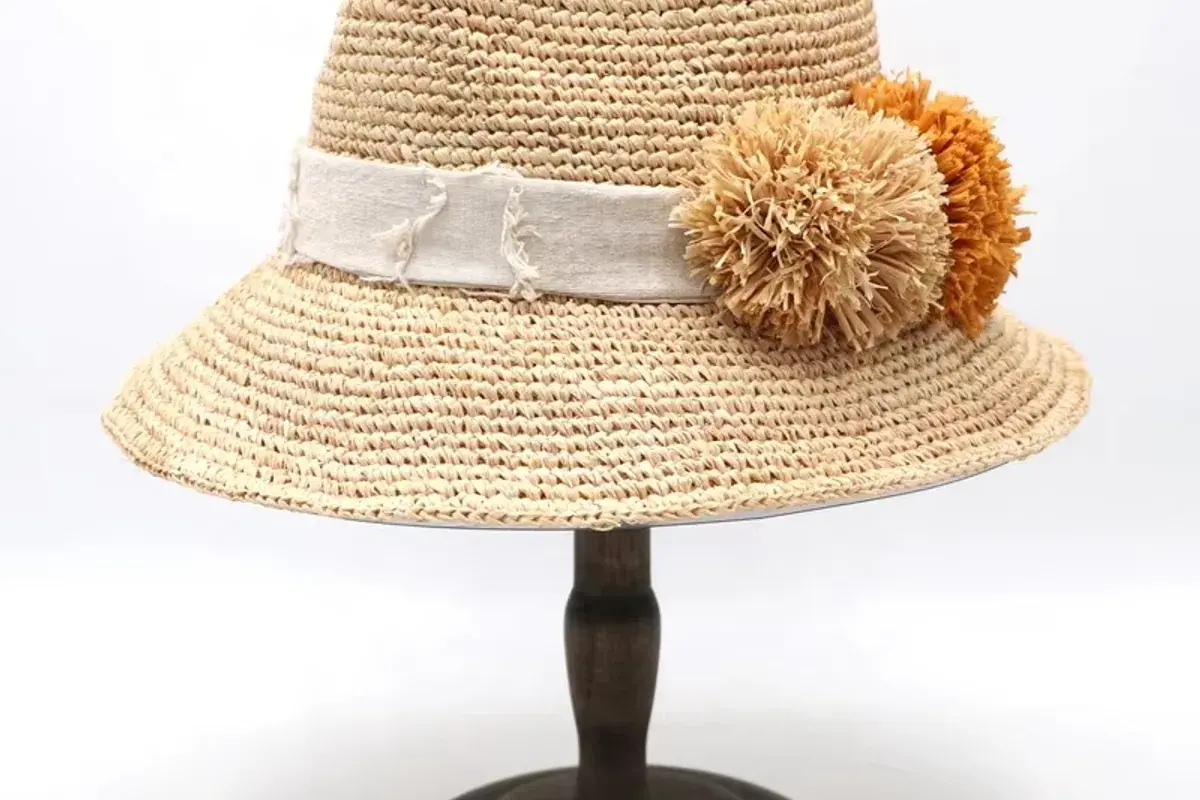
Side Logo or Trim
Add a patch, buckle, metal plate, bow, or another side detail with suitable backing and clearance.
View Logo Options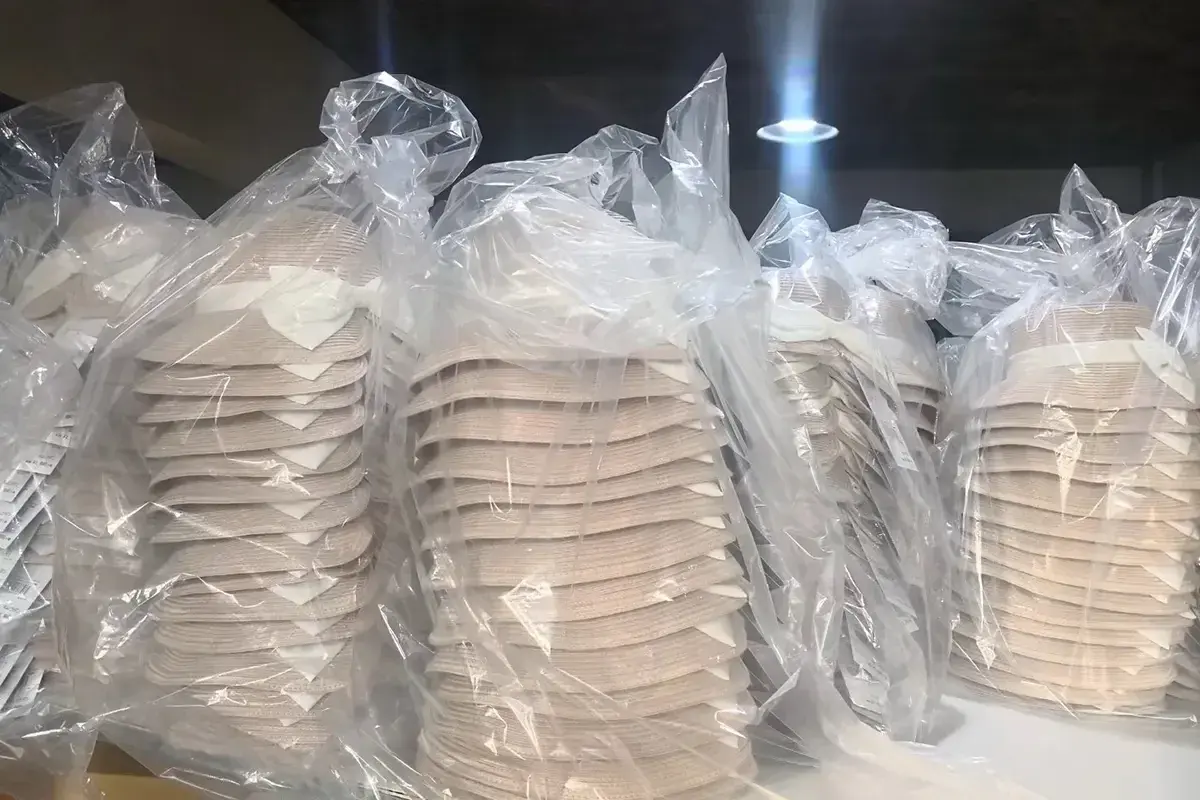
Labels and Retail Pack
Coordinate inside labels, size and care information, hang tags, barcodes, and unit packing.
View Labels and Packaging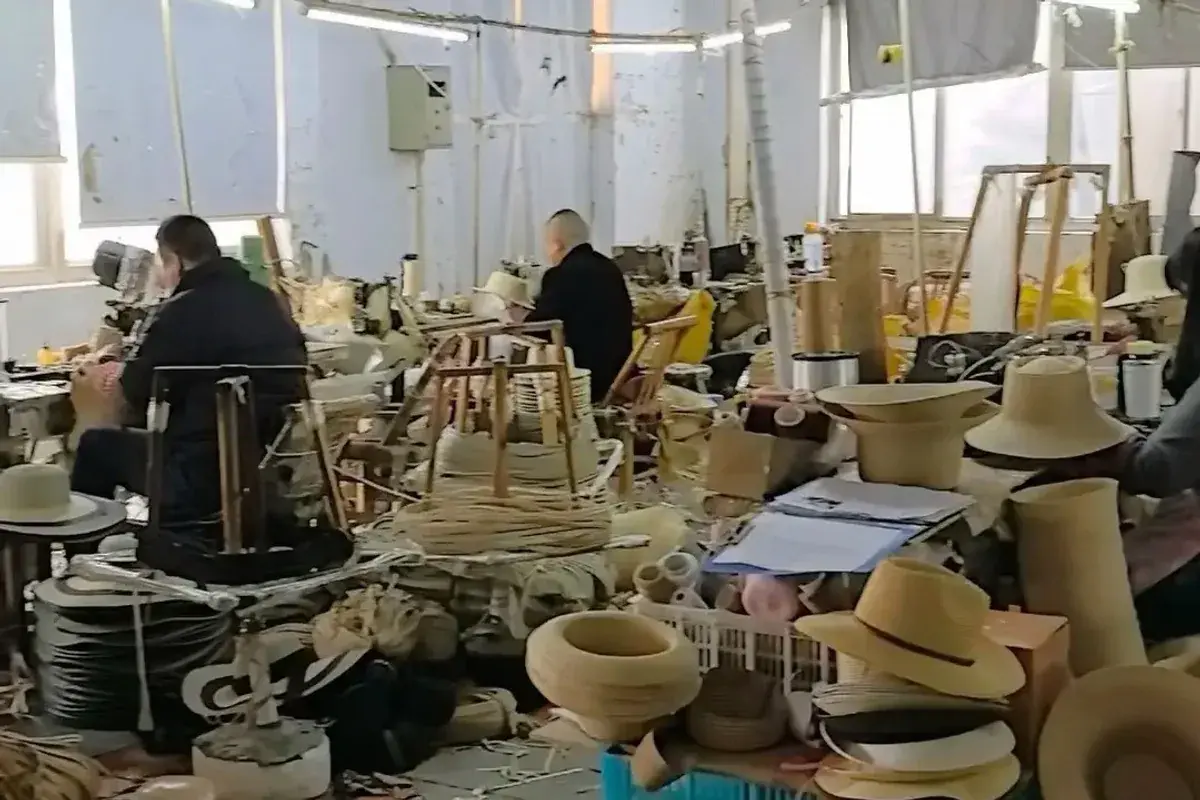
See How Your Fedora Hats Are Made
With 20+ years of hat manufacturing experience, our workshop supports sample development, crown and brim shaping, band application, size checks, quality control, and protective packing. Production follows the approved profile and trim position.
Choose a Fedora Style
Compare four starting profiles before confirming the material, color, band, and branding.
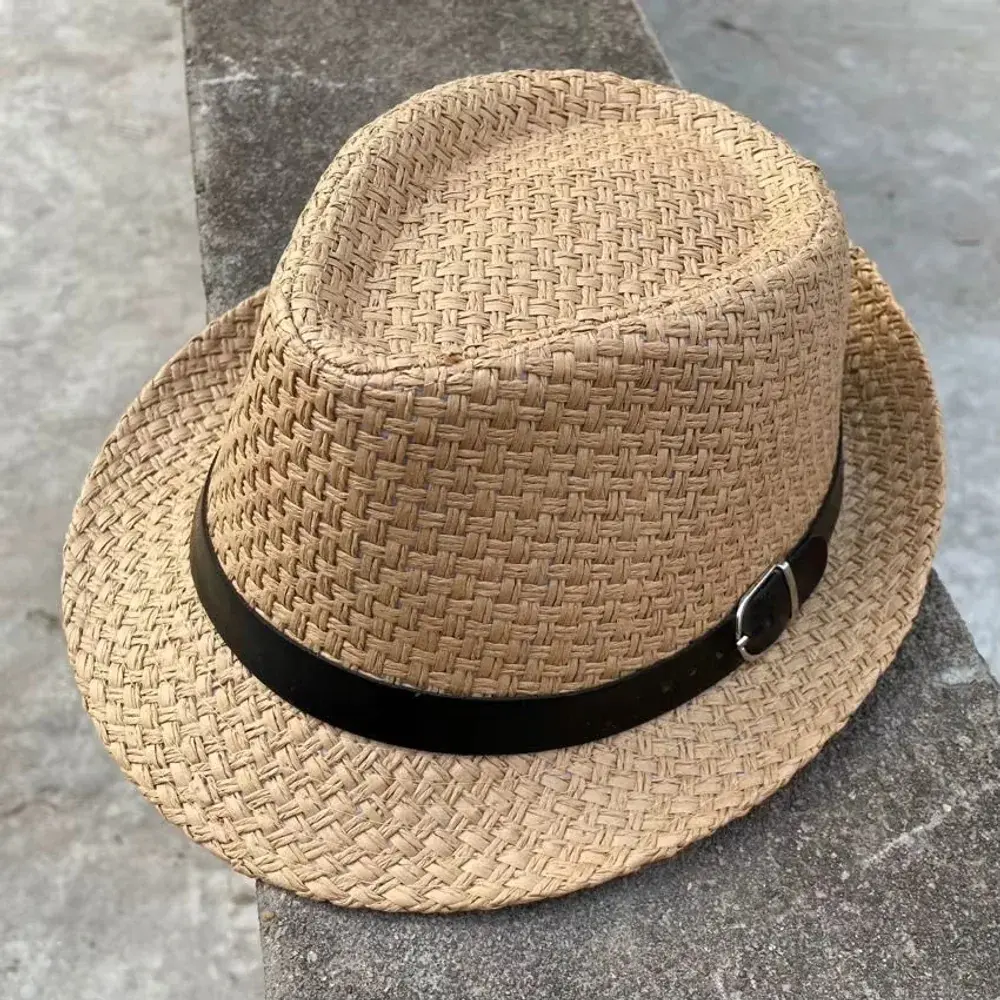
Pinch-Front Fedora Hats
Defined front pinches and balanced brims suit classic retail collections.
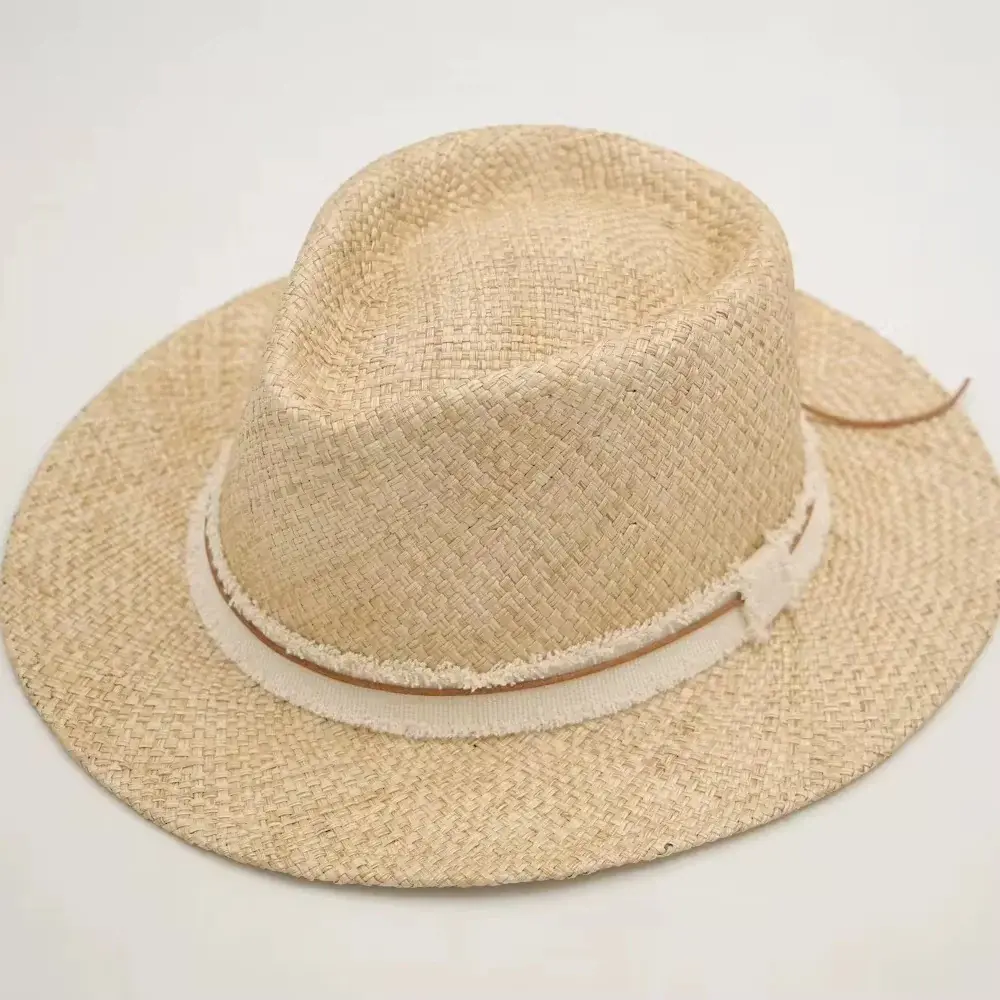
Wide-Brim Fedora Hats
Wider brims add a stronger fashion profile while retaining the indented crown.
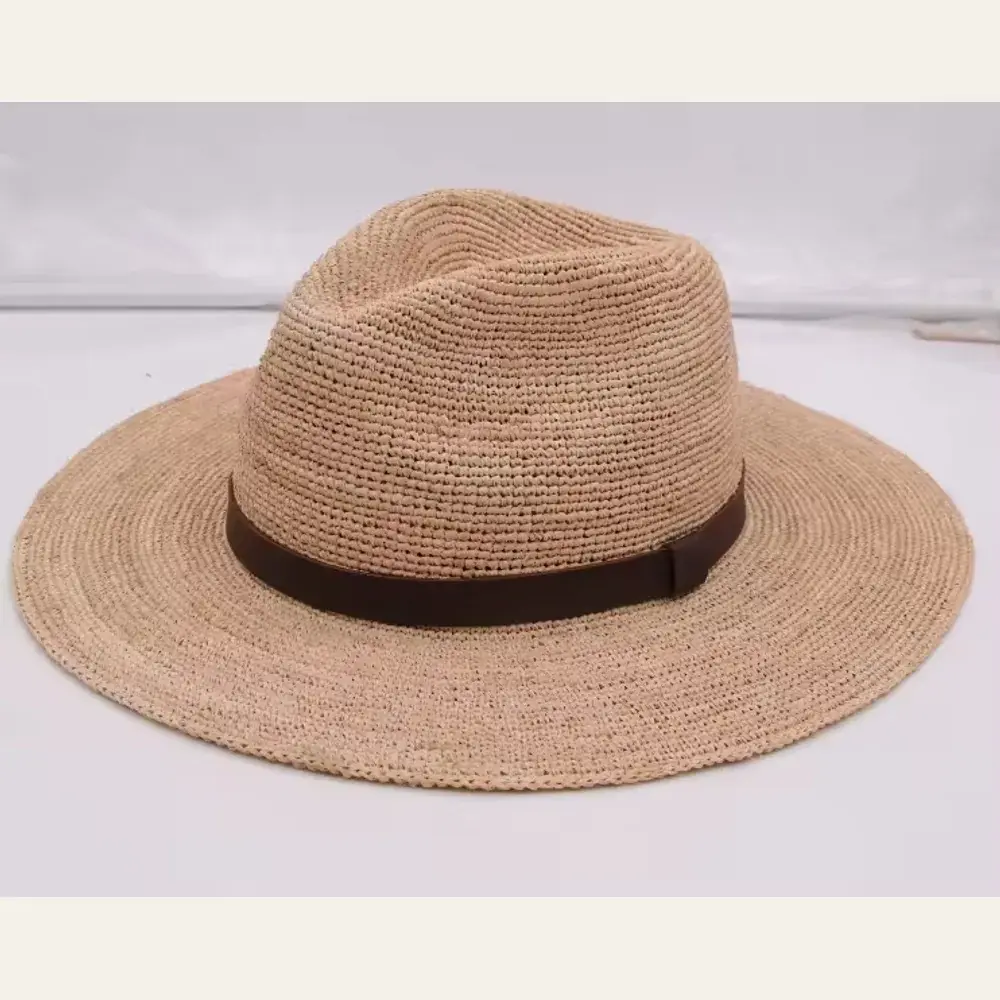
Soft-Structure Fedora Hats
Lighter structure creates a more relaxed silhouette with controlled movement.
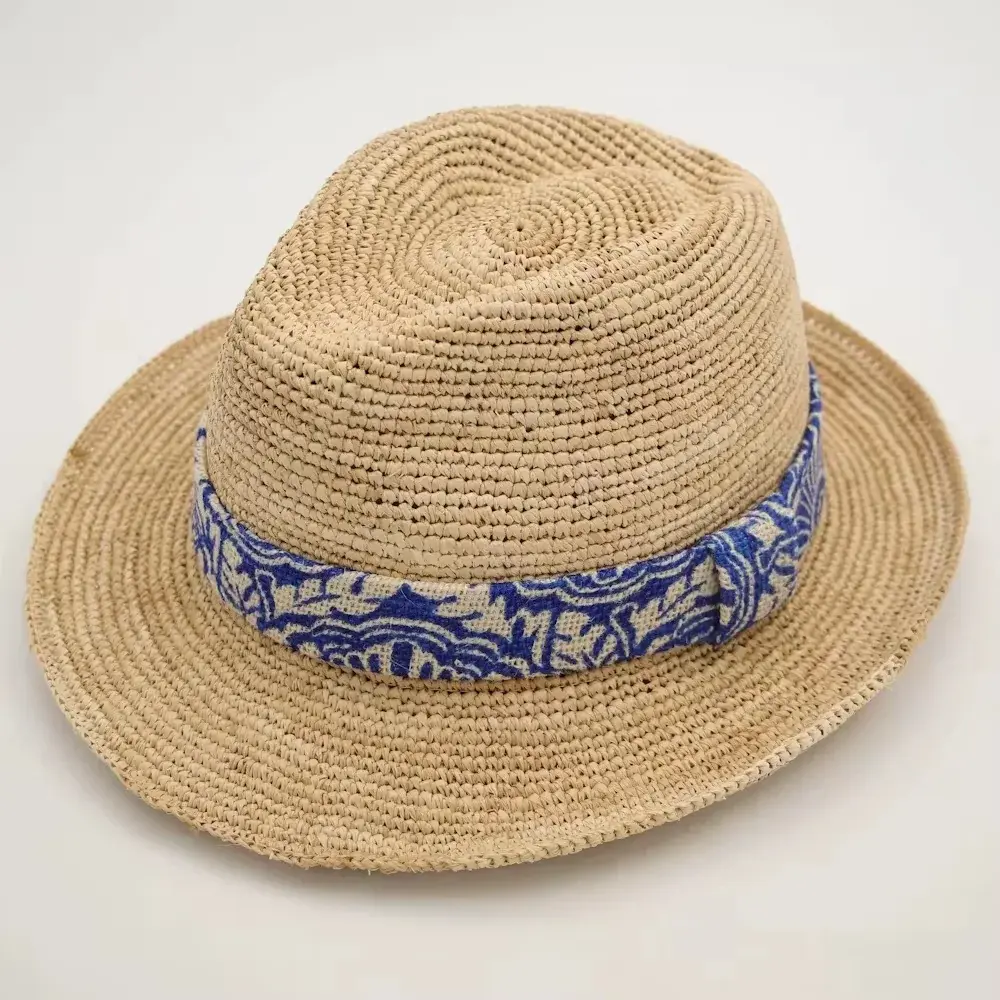
Branded-Band Fedora Hats
Ribbon, woven bands, patches, or side trim bring branding into the design.
Start Your Fedora Project
Send a reference, quantity, preferred profile, sizes, material, band or logo, destination, and target date. Tell us whether you want an existing shape or new development.
Get a QuoteCustom Straw Fedora FAQs
Useful answers before confirming the profile, material, sizes, band, and packing.