

Custom Straw Visors
Create open-crown straw visors for resort, retail, golf, events, and summer promotions. Choose the brim, material, headband, closure, fit, color, logo, labels, and packaging.
- ✓ MOQ from 50 pieces per design
- ✓ Sample-approved brim and headband fit
- ✓ Protected closures during packing
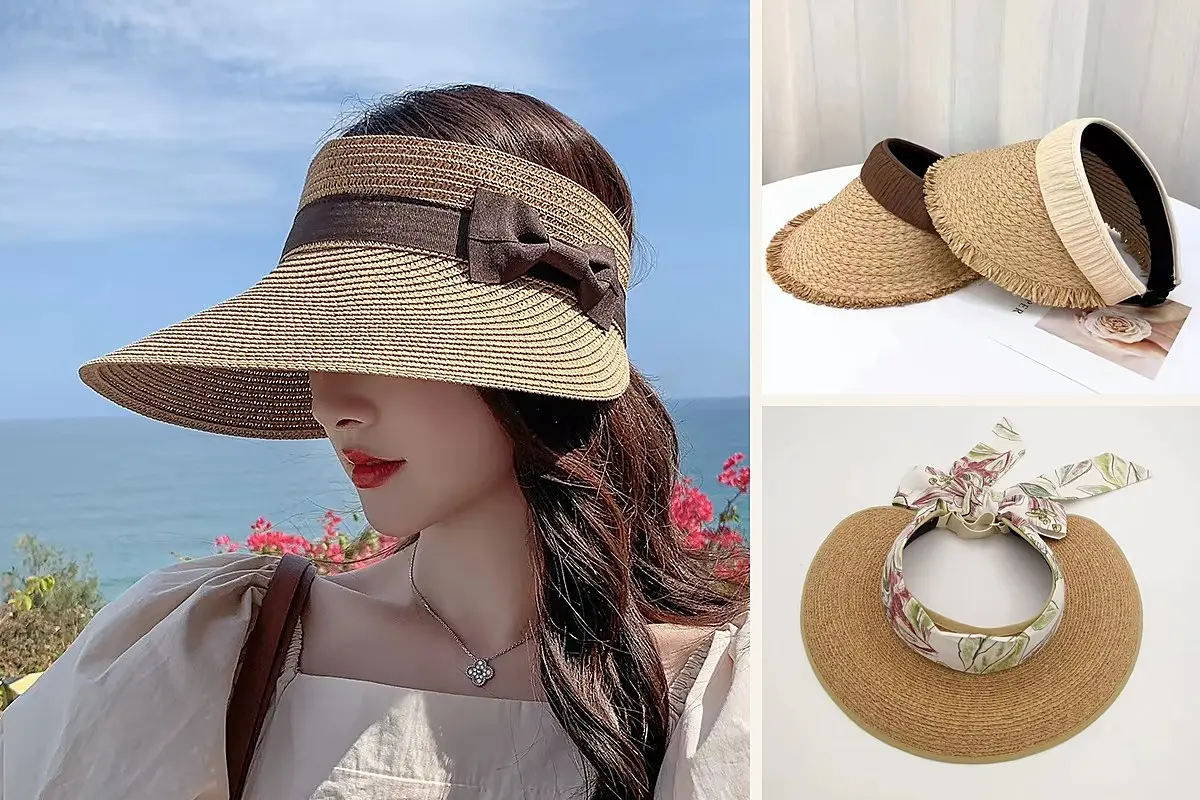

Start with How the Visor Will Be Worn
Tell us where the visor will be worn. We match the brim, headband, closure, and size range to the intended use.
What Can You Customize?
Define the parts that control appearance, fit, and everyday wear.
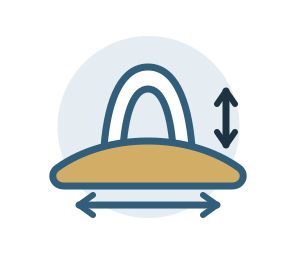
Brim Shape
Set the front and side width, curve, angle, edge, and firmness.

Straw Material
Compare raffia, paper straw, wheat straw, palm, seagrass, Toyo straw, or another available option.
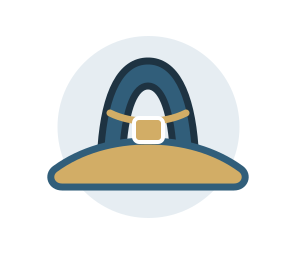
Headband
Choose the width, height, curve, color, binding, and connection to the brim.

Closure
Use a fixed size, elastic, hook-and-loop, buckle, tie-back, or another approved solution.

Inside Comfort
Plan the sweatband, seams, labels, and hardware around the forehead and sides.

Logo and Packaging
Finish the visor with branding, private labels, unit packing, and protected nesting.
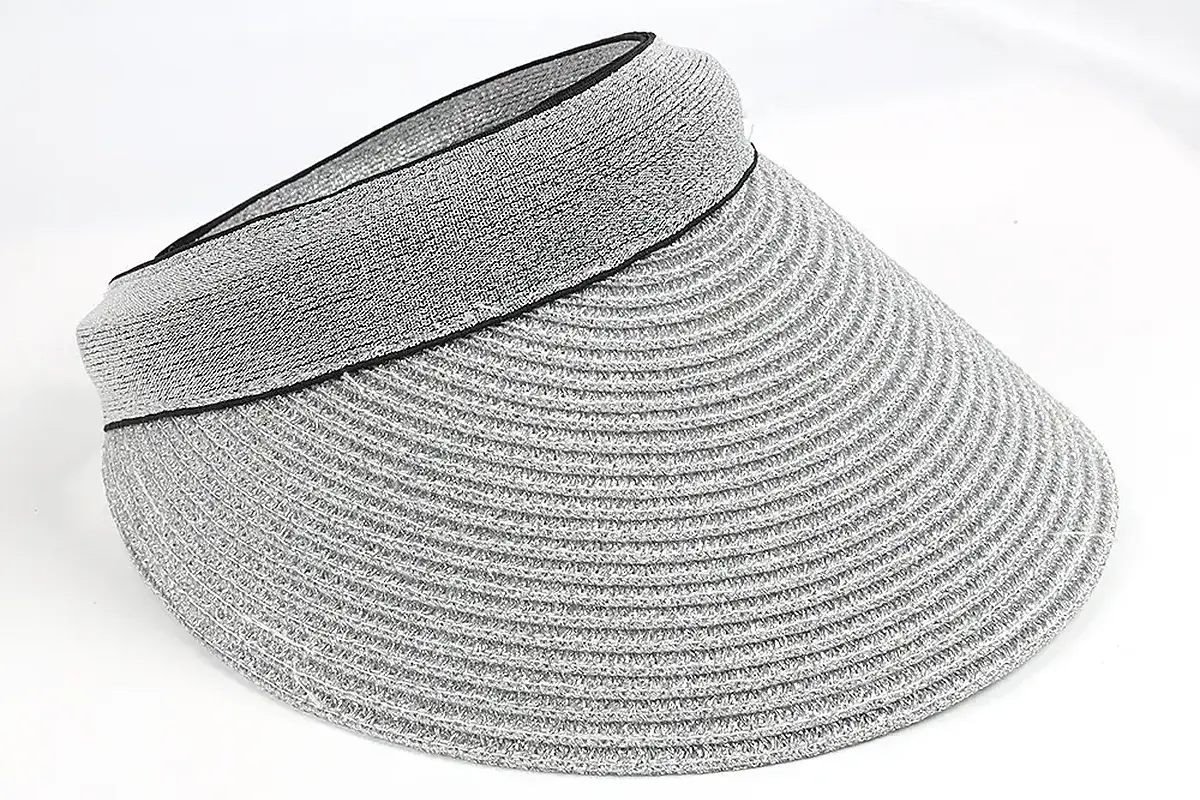
Choose the Brim and Material Together
Material affects the visor's texture and weight, while the brim profile changes how it sits on the head. Select them together rather than treating the straw as a surface choice.
- Look:
Compare texture, weave, natural or dyed color, and accepted variation. - Profile:
Set the front and side width, outline, curve, and downward angle. - Structure:
Choose a softer, shaped, or supported brim based on the intended result. - Sample check:
Review the finished weight, balance, edge, field of view, and connection to the band.
Set the Fit and Closure
Choose a fixed size for a defined size range or an adjustable closure when the program needs more flexibility. The approved range should still be tested on the complete visor.
- Fixed size:
Use clear size specifications when the order has a planned size breakdown. - Adjustable:
Compare elastic, hook-and-loop, buckle, tie-back, or another available closure. - Range:
Record the actual inner measurement or adjustment range instead of assuming one size fits everyone. - Wear test:
Check centering, security, brim balance, and closure position at every approved setting.
Keep the Headband Comfortable
The headband stays in direct contact with the forehead and sides. Its curve, inside finish, seams, labels, and hardware should feel secure without creating unnecessary pressure.
- Band shape:
Set the width, height, curve, and level of support. - Sweatband:
Choose the inside finish and check how it meets the brim and closure. - Seams and labels:
Keep joins, backing, and raised edges away from sensitive contact areas. - Hardware:
Review buckles, adjusters, and elastic ends at the minimum and maximum settings.
Choose Where the Brand Appears
Position the logo after the brim, band, and closure are set. This keeps the branding visible without interfering with fit or contact areas.
Headband Logo
Use embroidery, a woven detail, or color contrast on a stable outer section of the band.
View Logo Options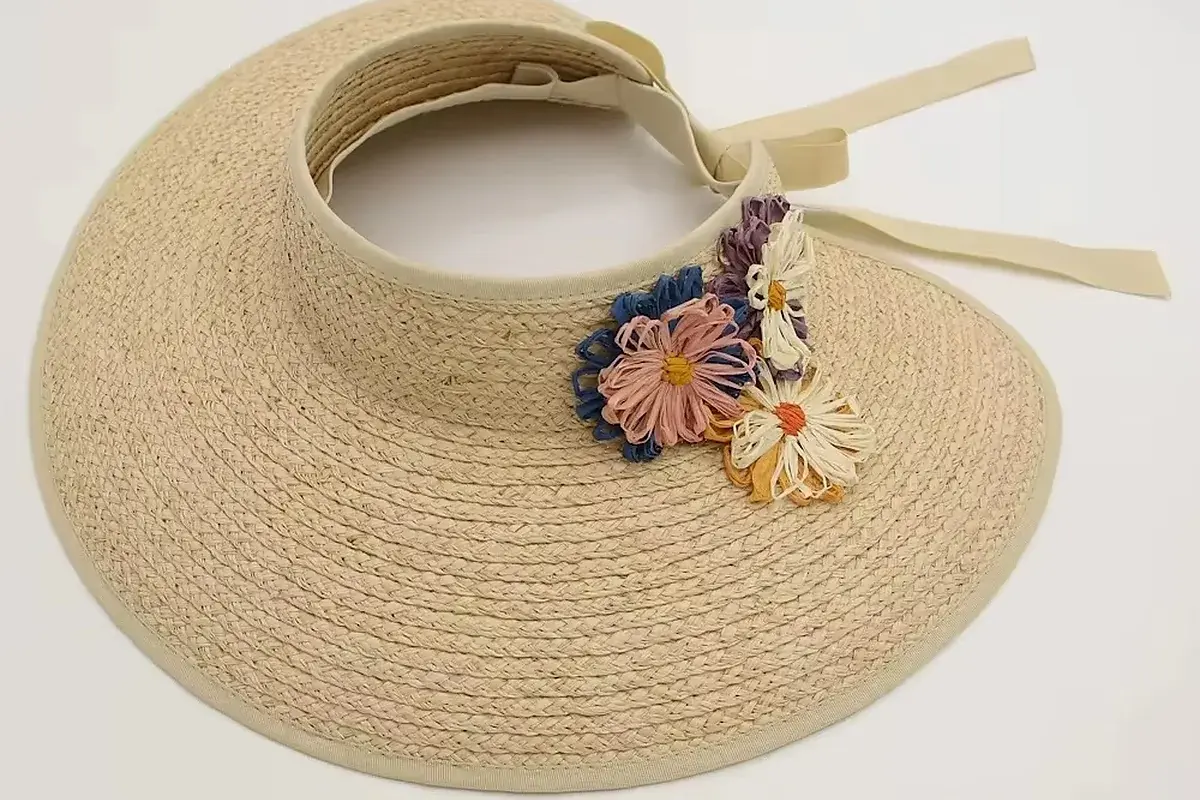
Patch or Badge
A patch provides a clearer branding surface when the straw weave is too open or textured for fine details.
View Patch Options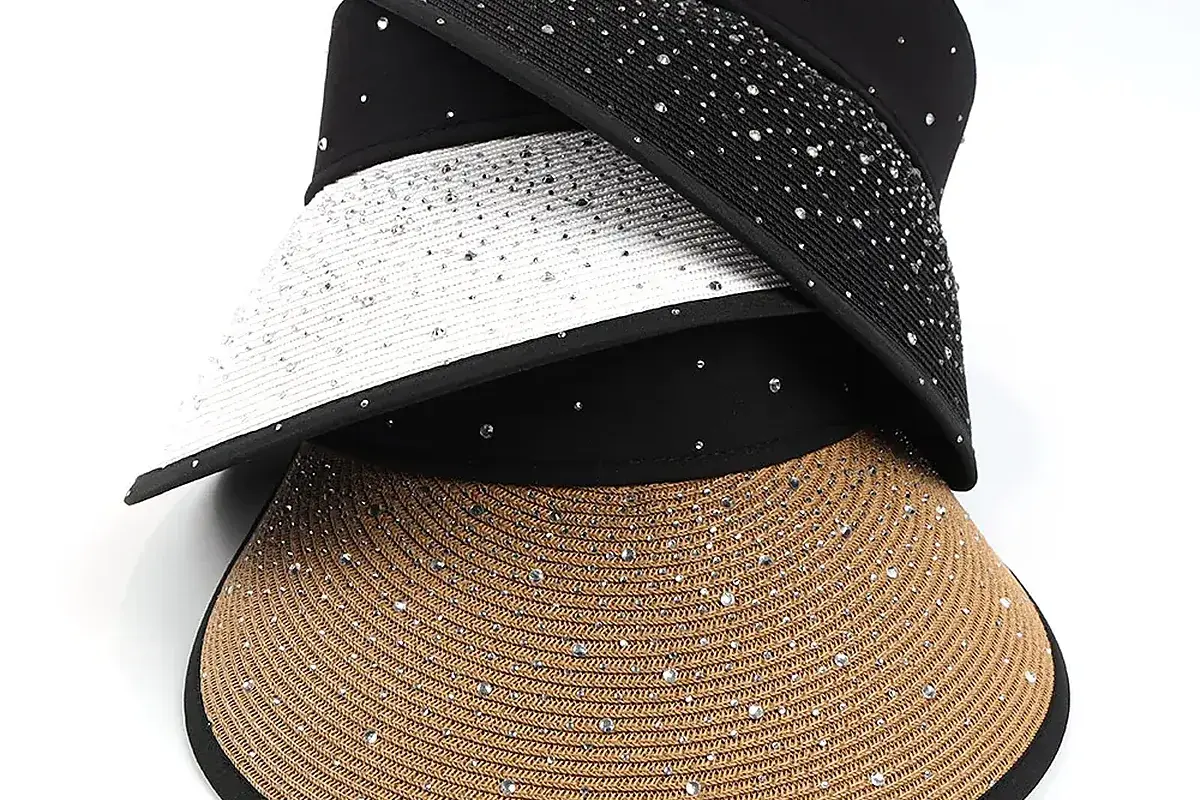
Brim Print
The top or underside of the brim can carry a larger graphic when the shape, surface, and artwork allow it.
View Under-Brim Printing
Inside Our Straw Hat Workshop
With 20+ years of hat manufacturing experience, our workshop supports sample development, shaping, branding, quality checks, and packing for custom visor orders. Production follows the approved material, brim, headband, closure, and finish.
Choose a Straw Visor Style
Compare four visor directions by coverage, closure, and appearance.
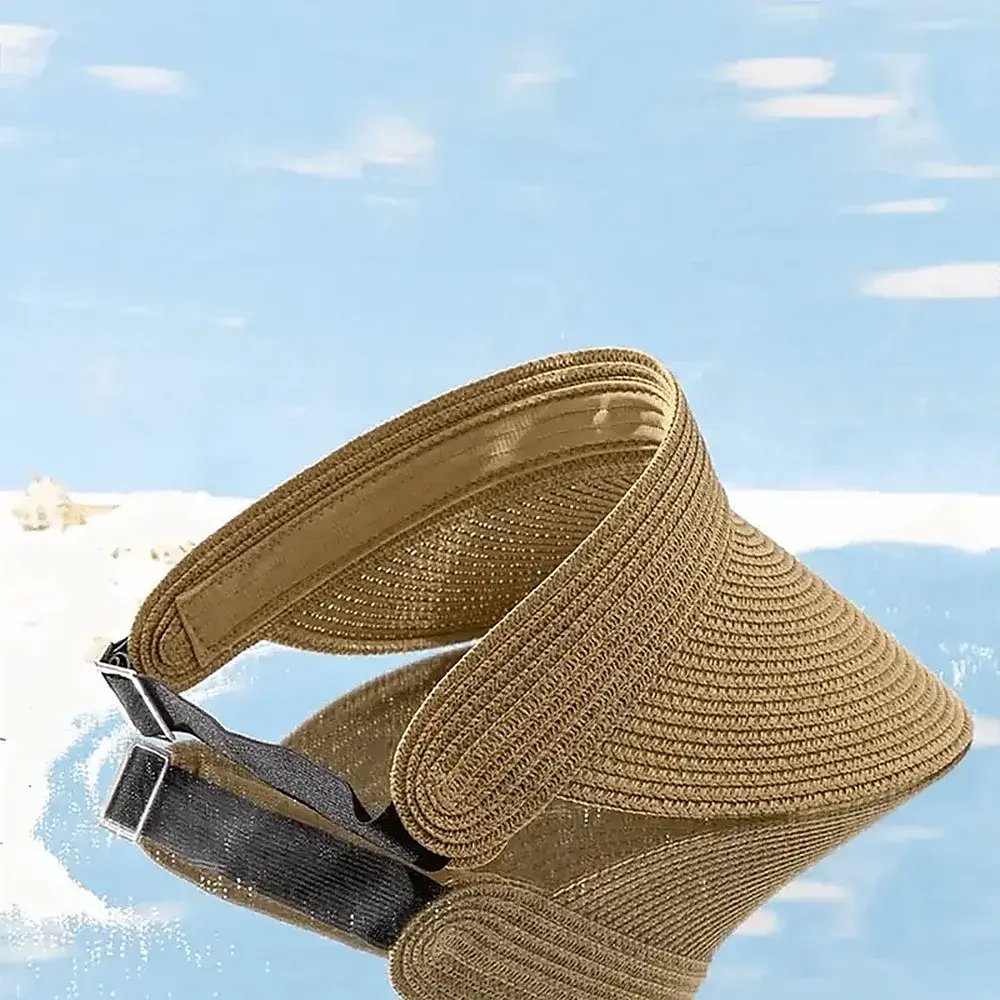
Wide-Brim Straw Visors
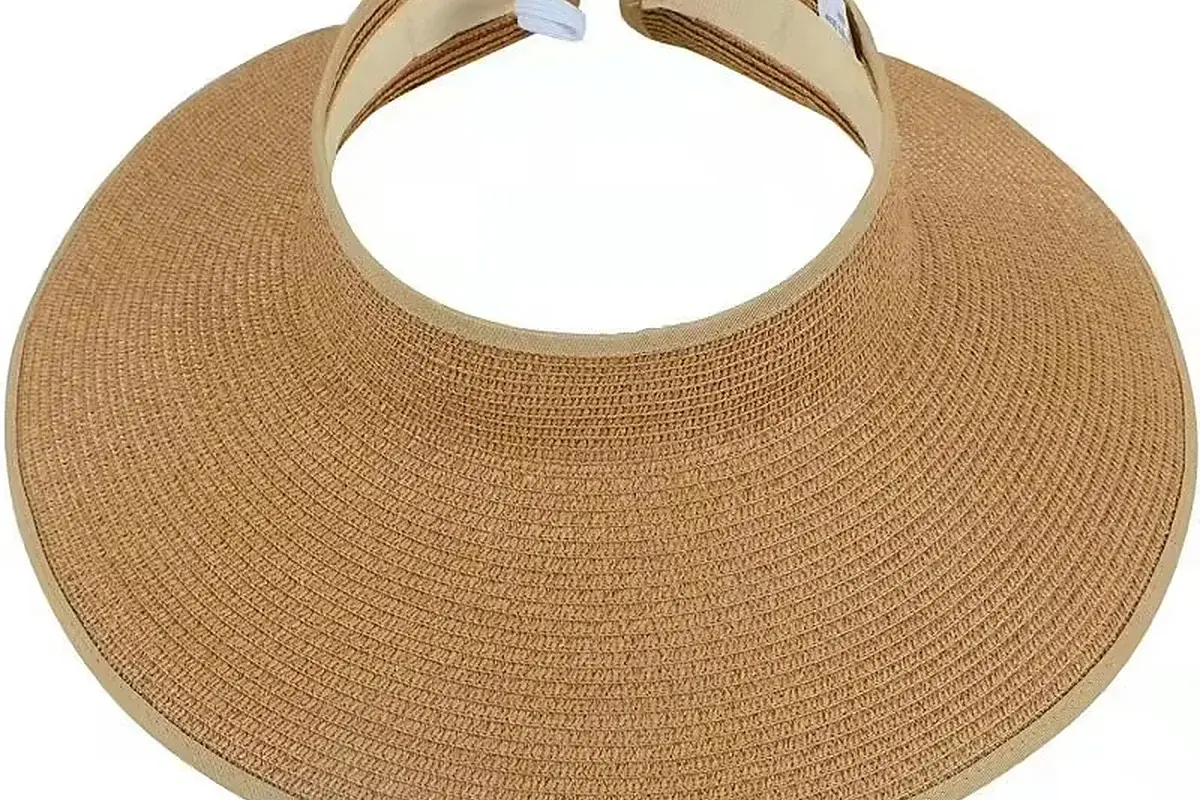
More face coverage suits resort retail and outdoor summer programs.
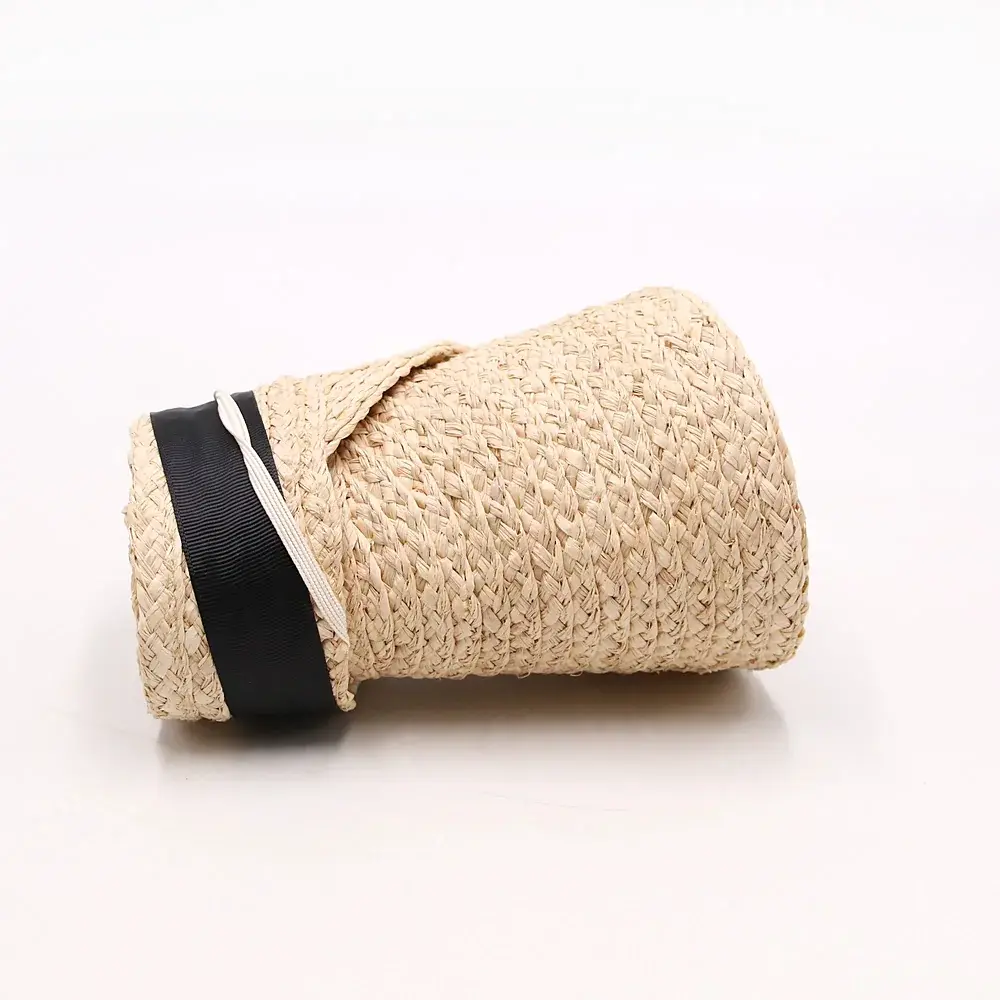
Roll-Up Straw Visors
Travel-focused ranges can use a flexible profile after the finished sample passes the packing check.
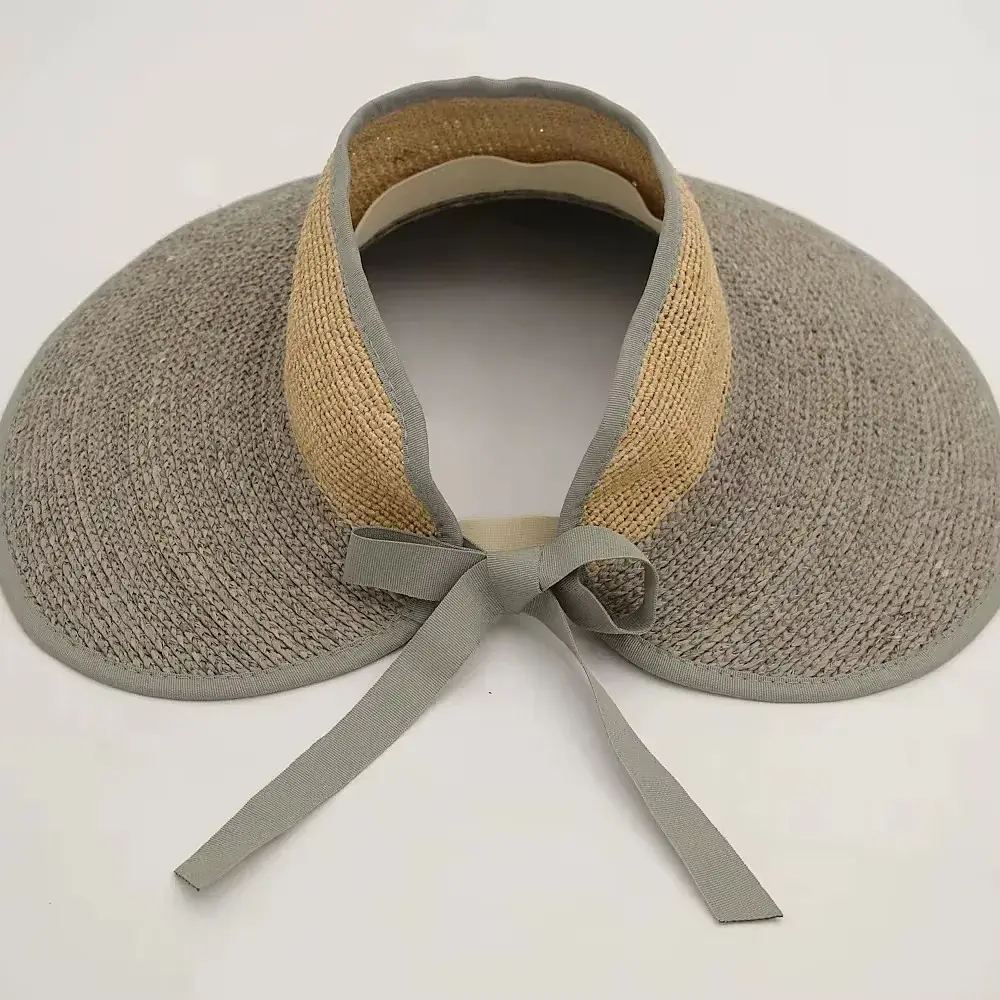
Tie-Back Straw Visors
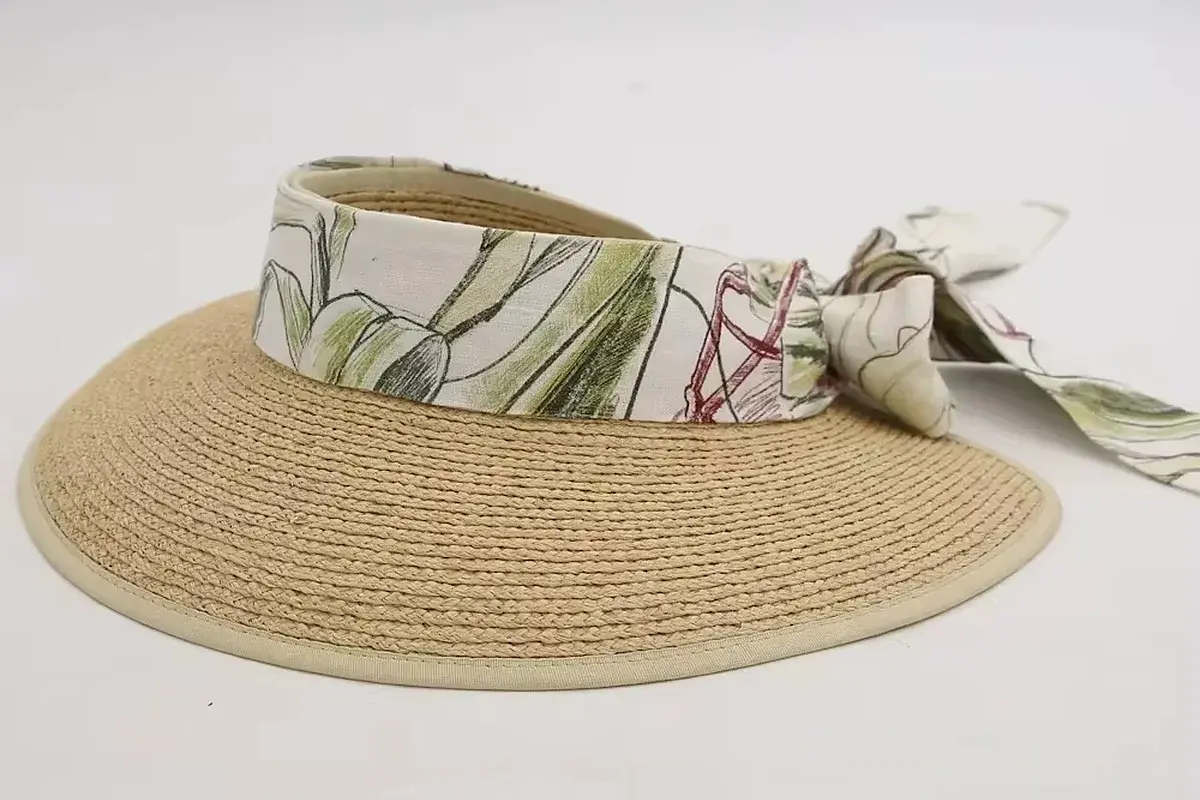
Fabric ties combine adjustment with a softer, decorative finish.
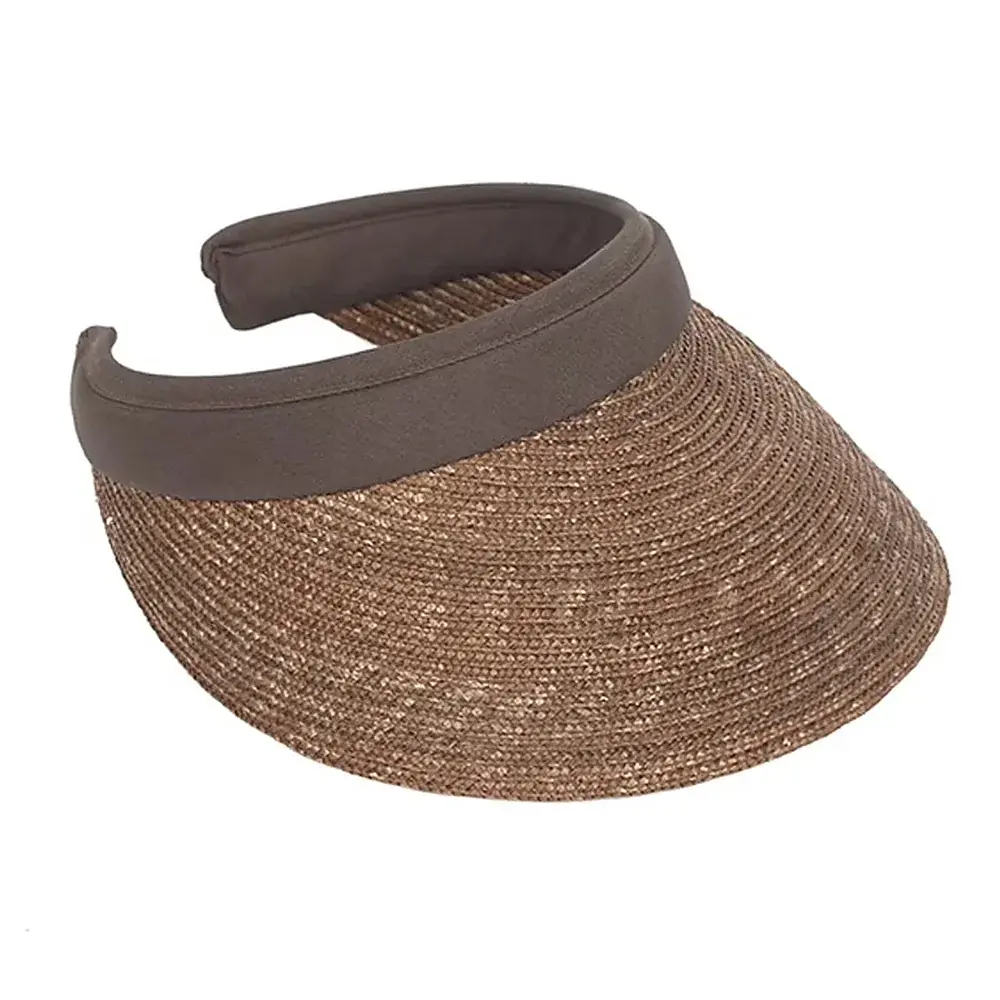
Sport-Style Straw Visors
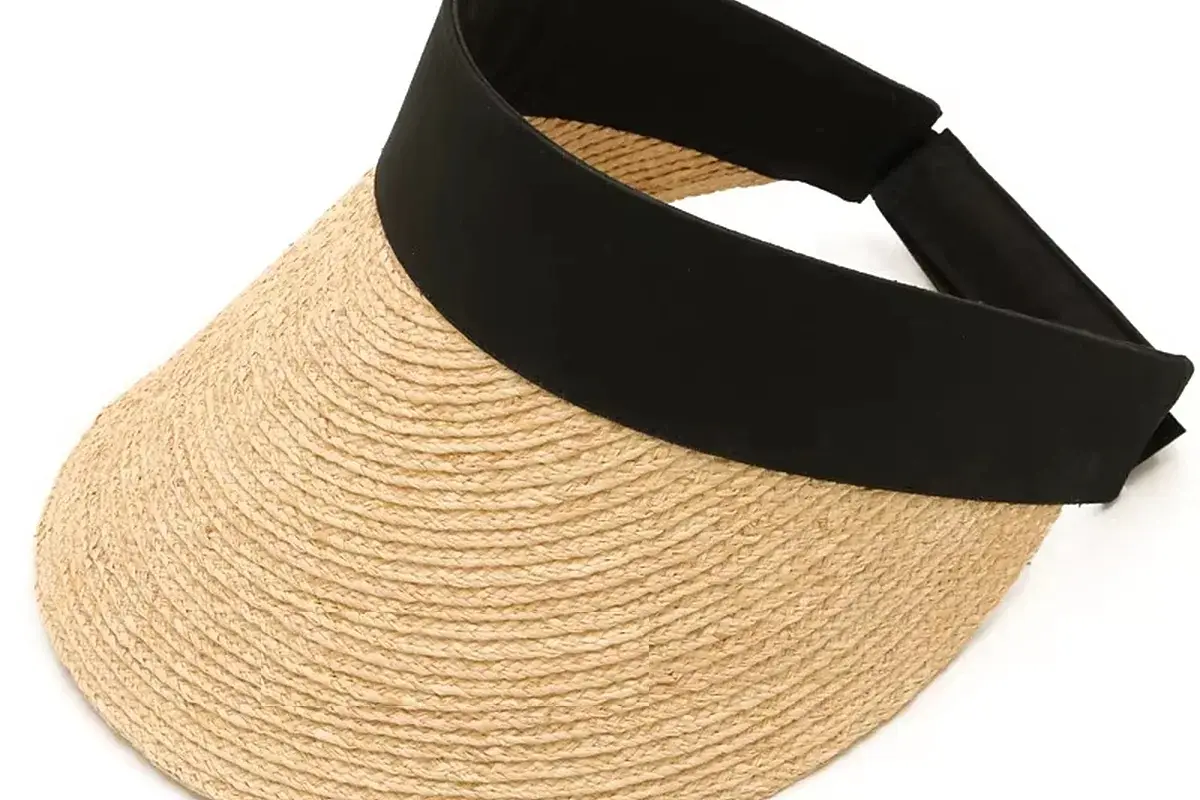
Closer-fitting bands and practical closures work well for golf, tennis, and promotions.
Start Your Straw Visor Project
Send a reference, quantity, intended wearer, size or adjustment range, brim profile, closure, material, color, logo, packaging needs, destination, and target date. If the details are still open, start with the intended use, quantity, and preferred closure.
Get a QuoteCustom Straw Visor FAQs
Useful answers before you confirm the brim, band, closure, and sample.